How to use Takker (Video)
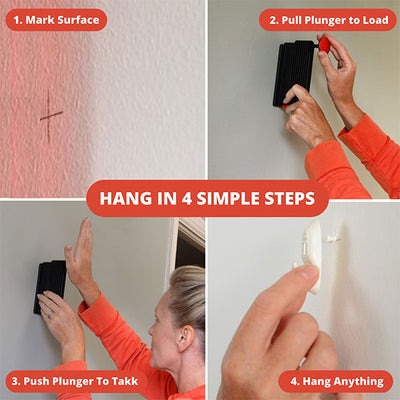
How to use Takker (Steps)
-

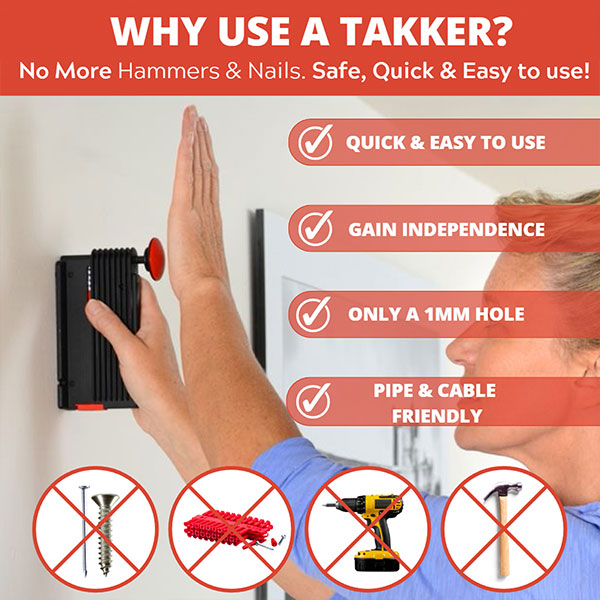
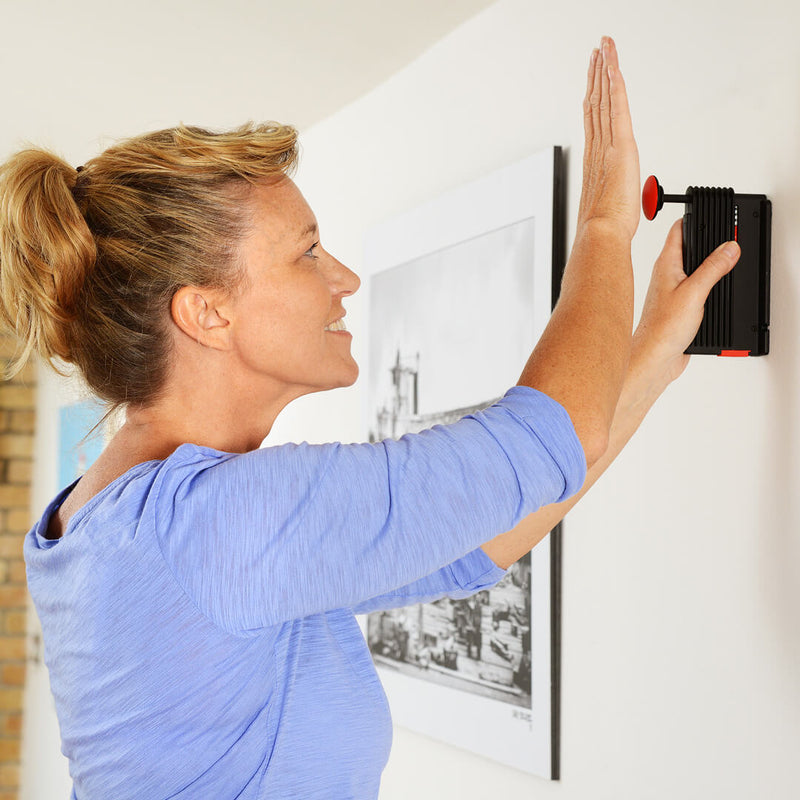
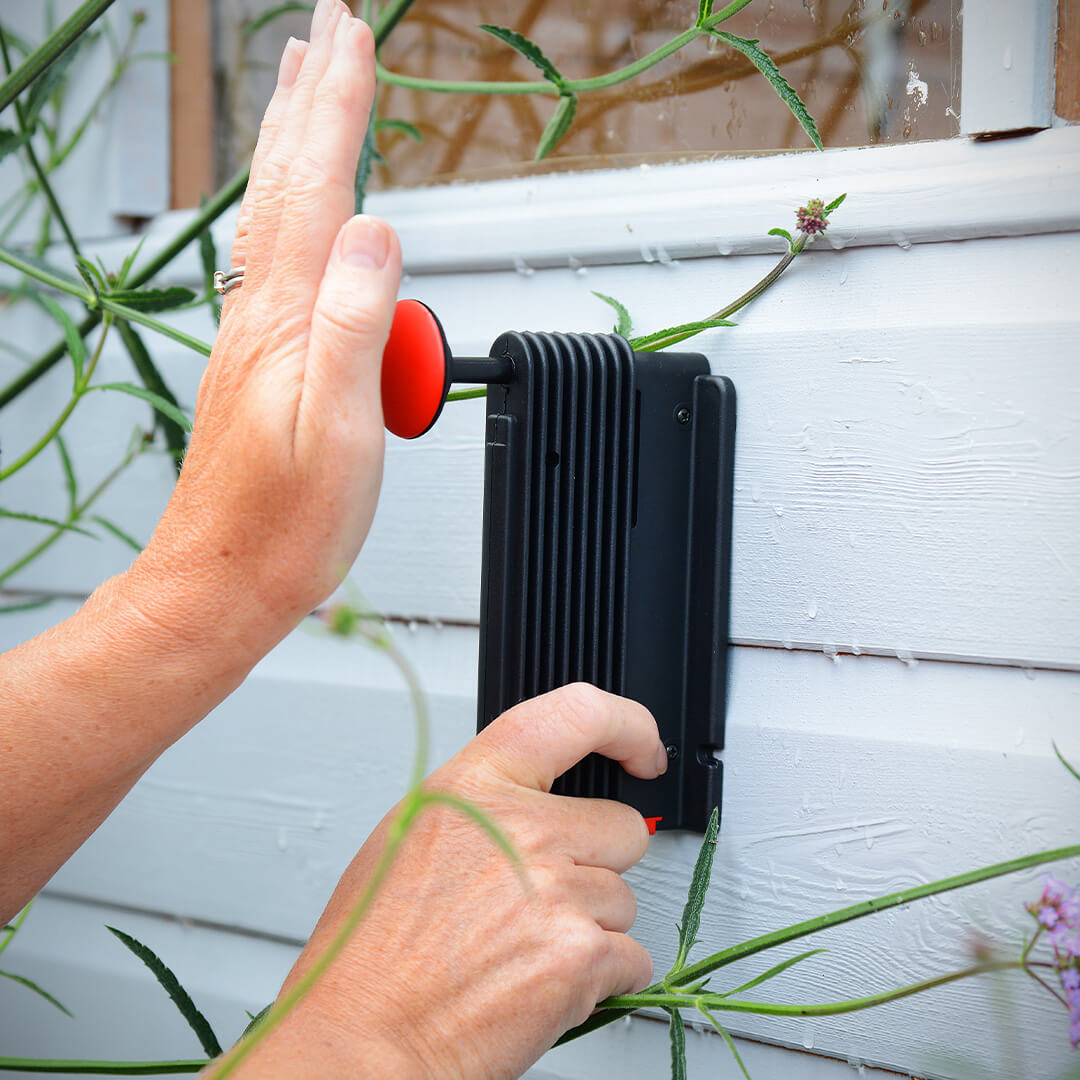
Hold Takker firmly against the surface.
-
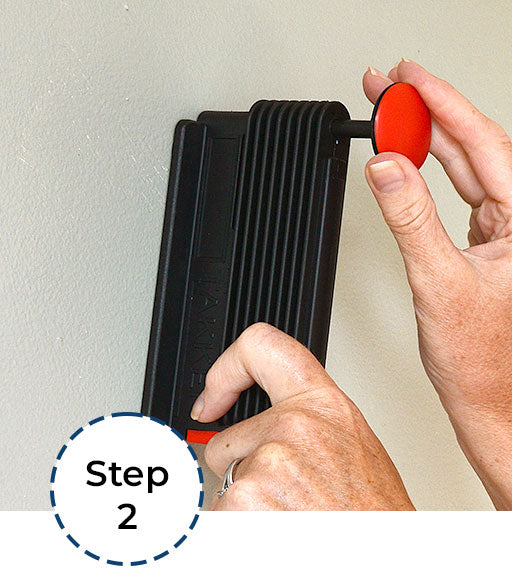
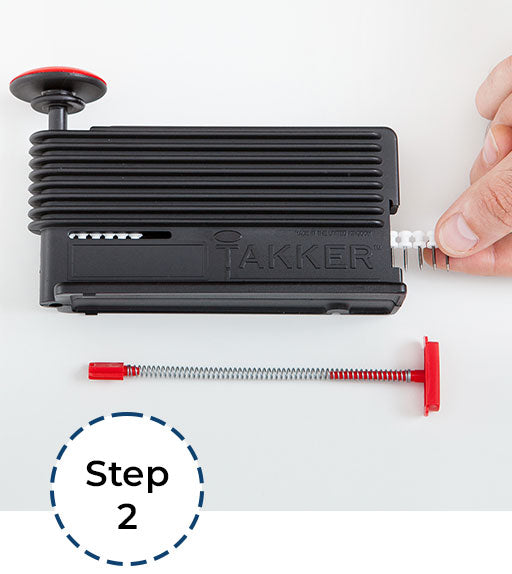
Pull out the red plunger to load a Takk.
-
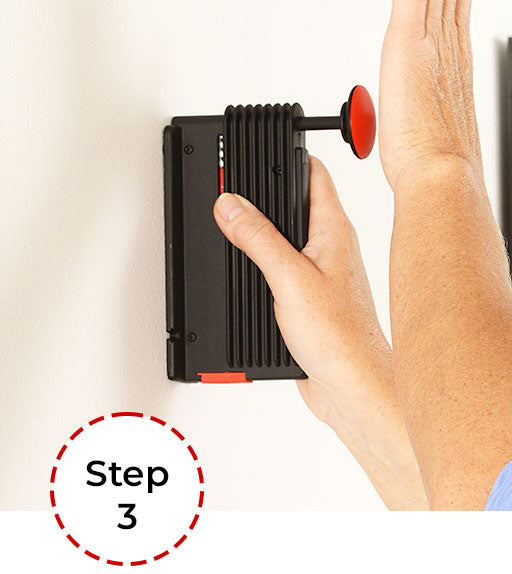
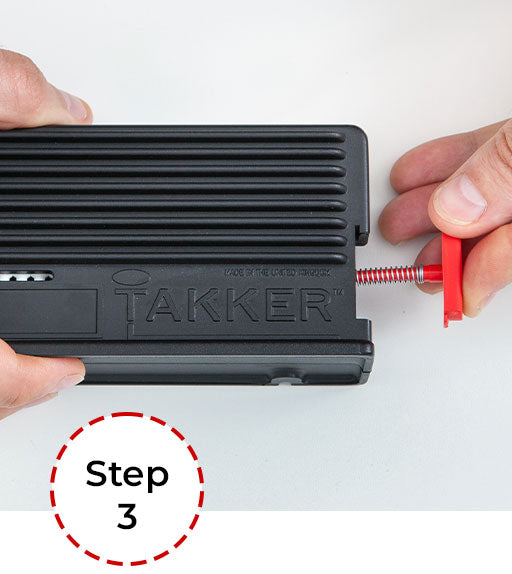
Push in the plunger until it touches theTakker. Ensure the Takk is fully inserted into your wall or surface. If not fully inserted, repeat this step but do not pull the plunger out so far that it re-engages a Takk as this may jam the Takker.
-
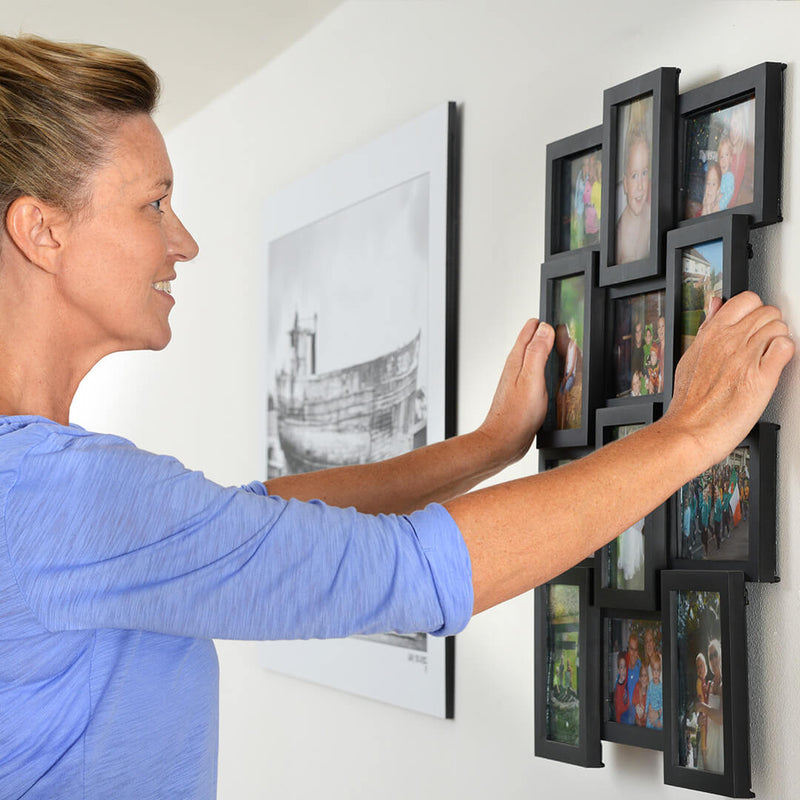
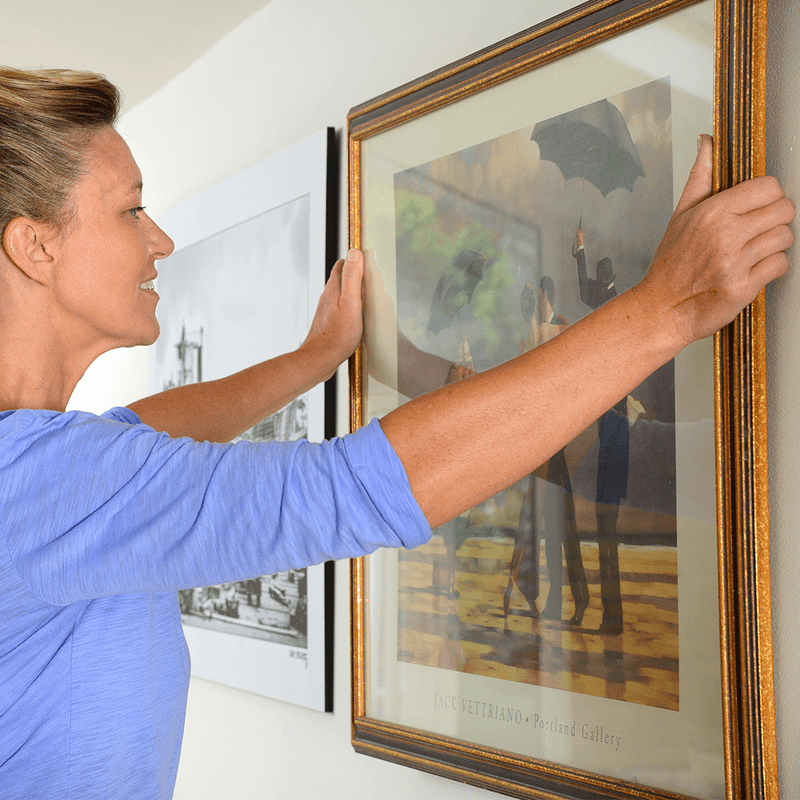
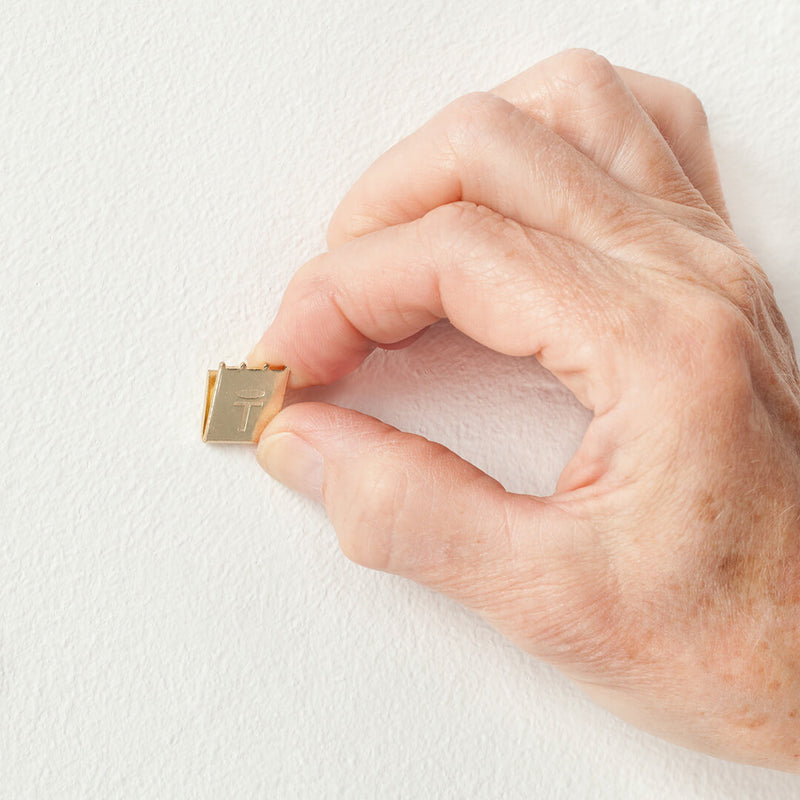
Your Takk is now ready for hanging or forattaching a Takker Hook, if desired.


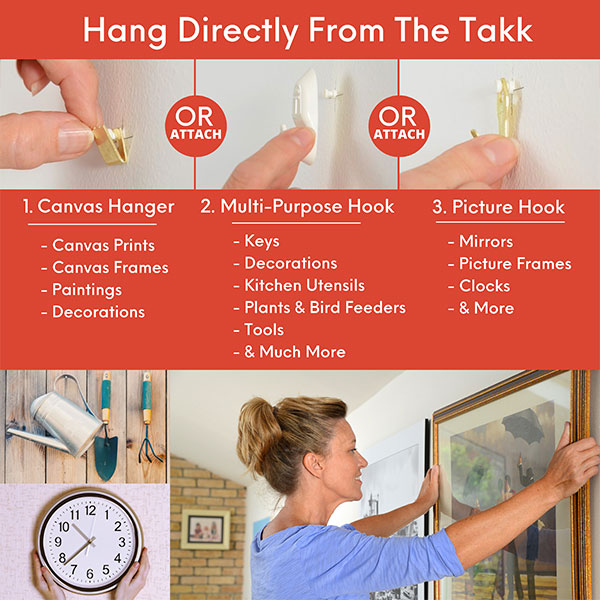
How to Attach a Hook
-

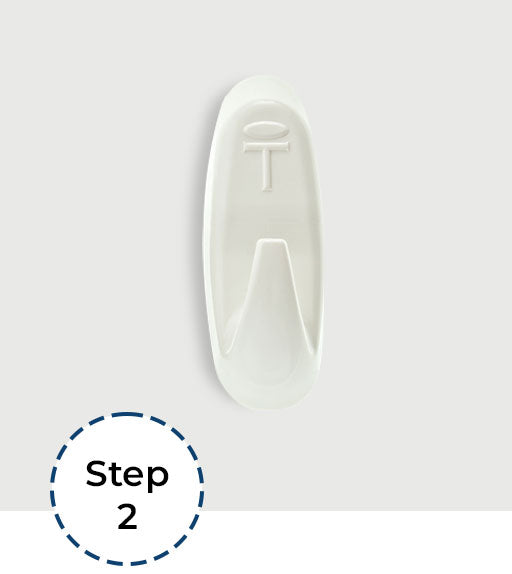
Using your Takker, insert a Takk into the surface (make sure the Takk is fully inserted into the wall surface).
-
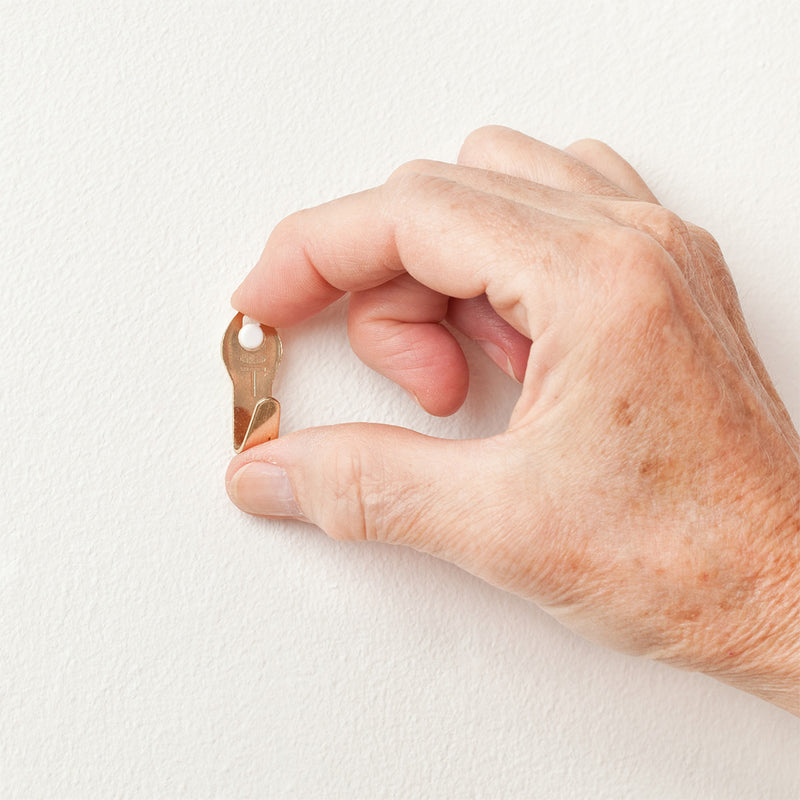
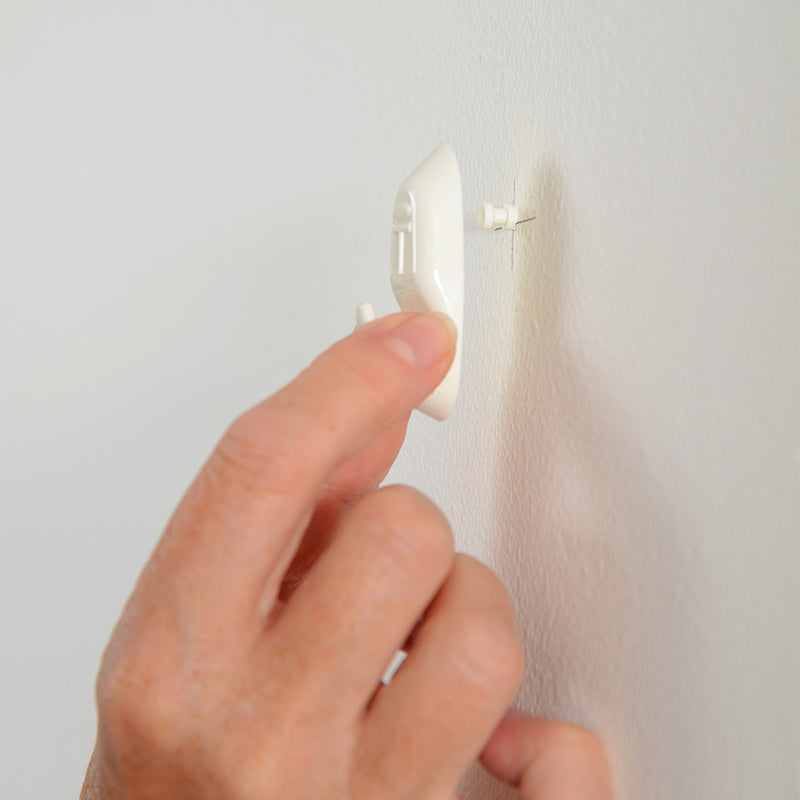
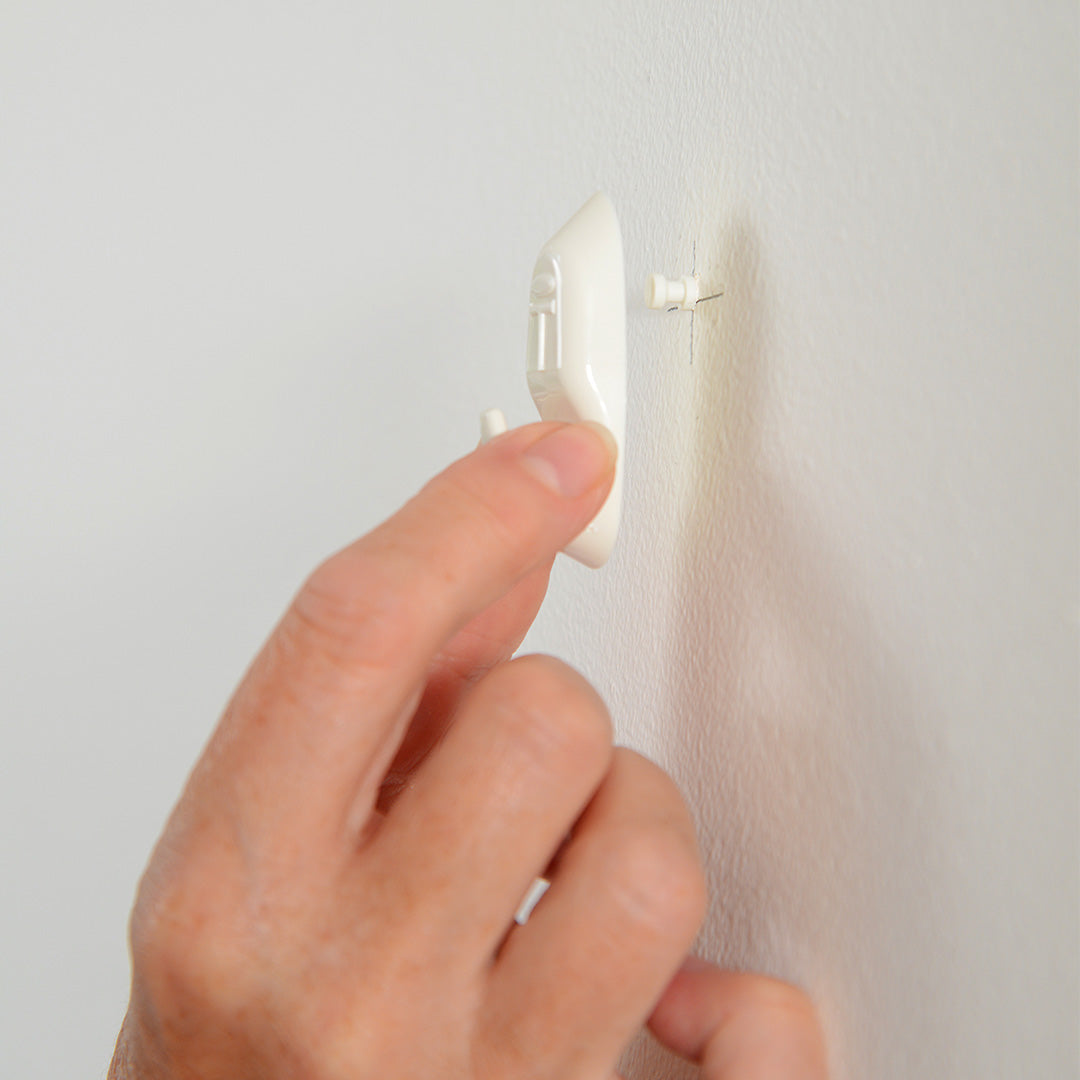
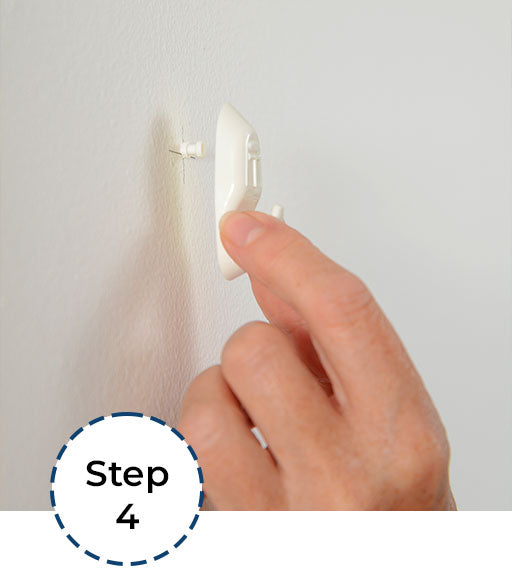
Place the Hook over the Takk just below theslot on the rear of the Hook). Slide the hook down gently until it locates onto the Takk.
-
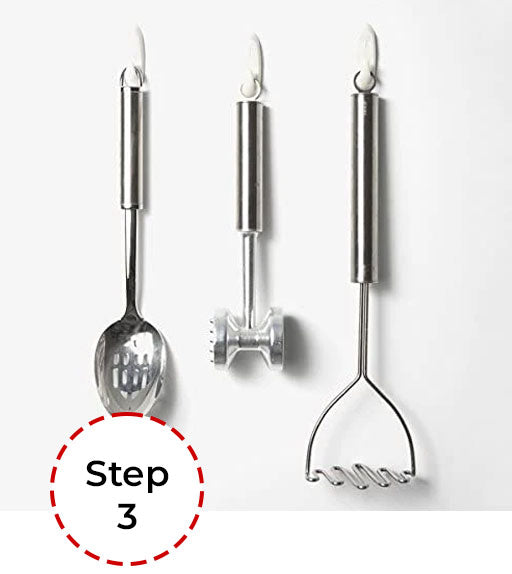
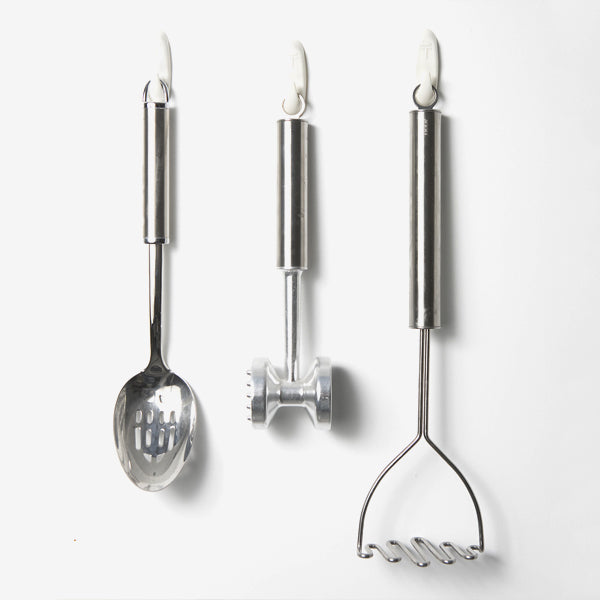
Your Takker Hook is now ready for hanging items up to 10Kgs/22lbs.


How to Reload Takker
-
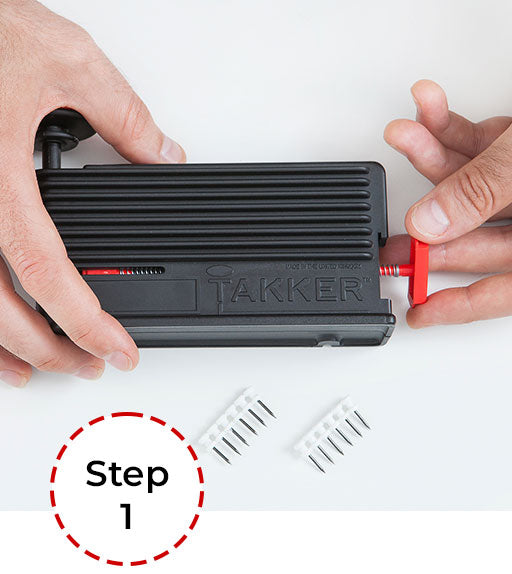
Twist anticlockwise, pull and remove the spring loaded clip on the end of the Takker.
-
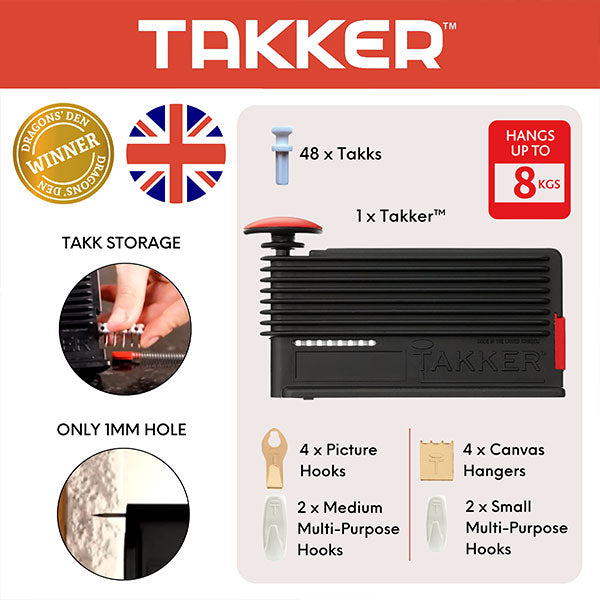
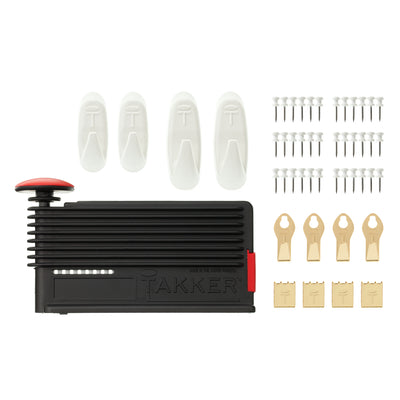
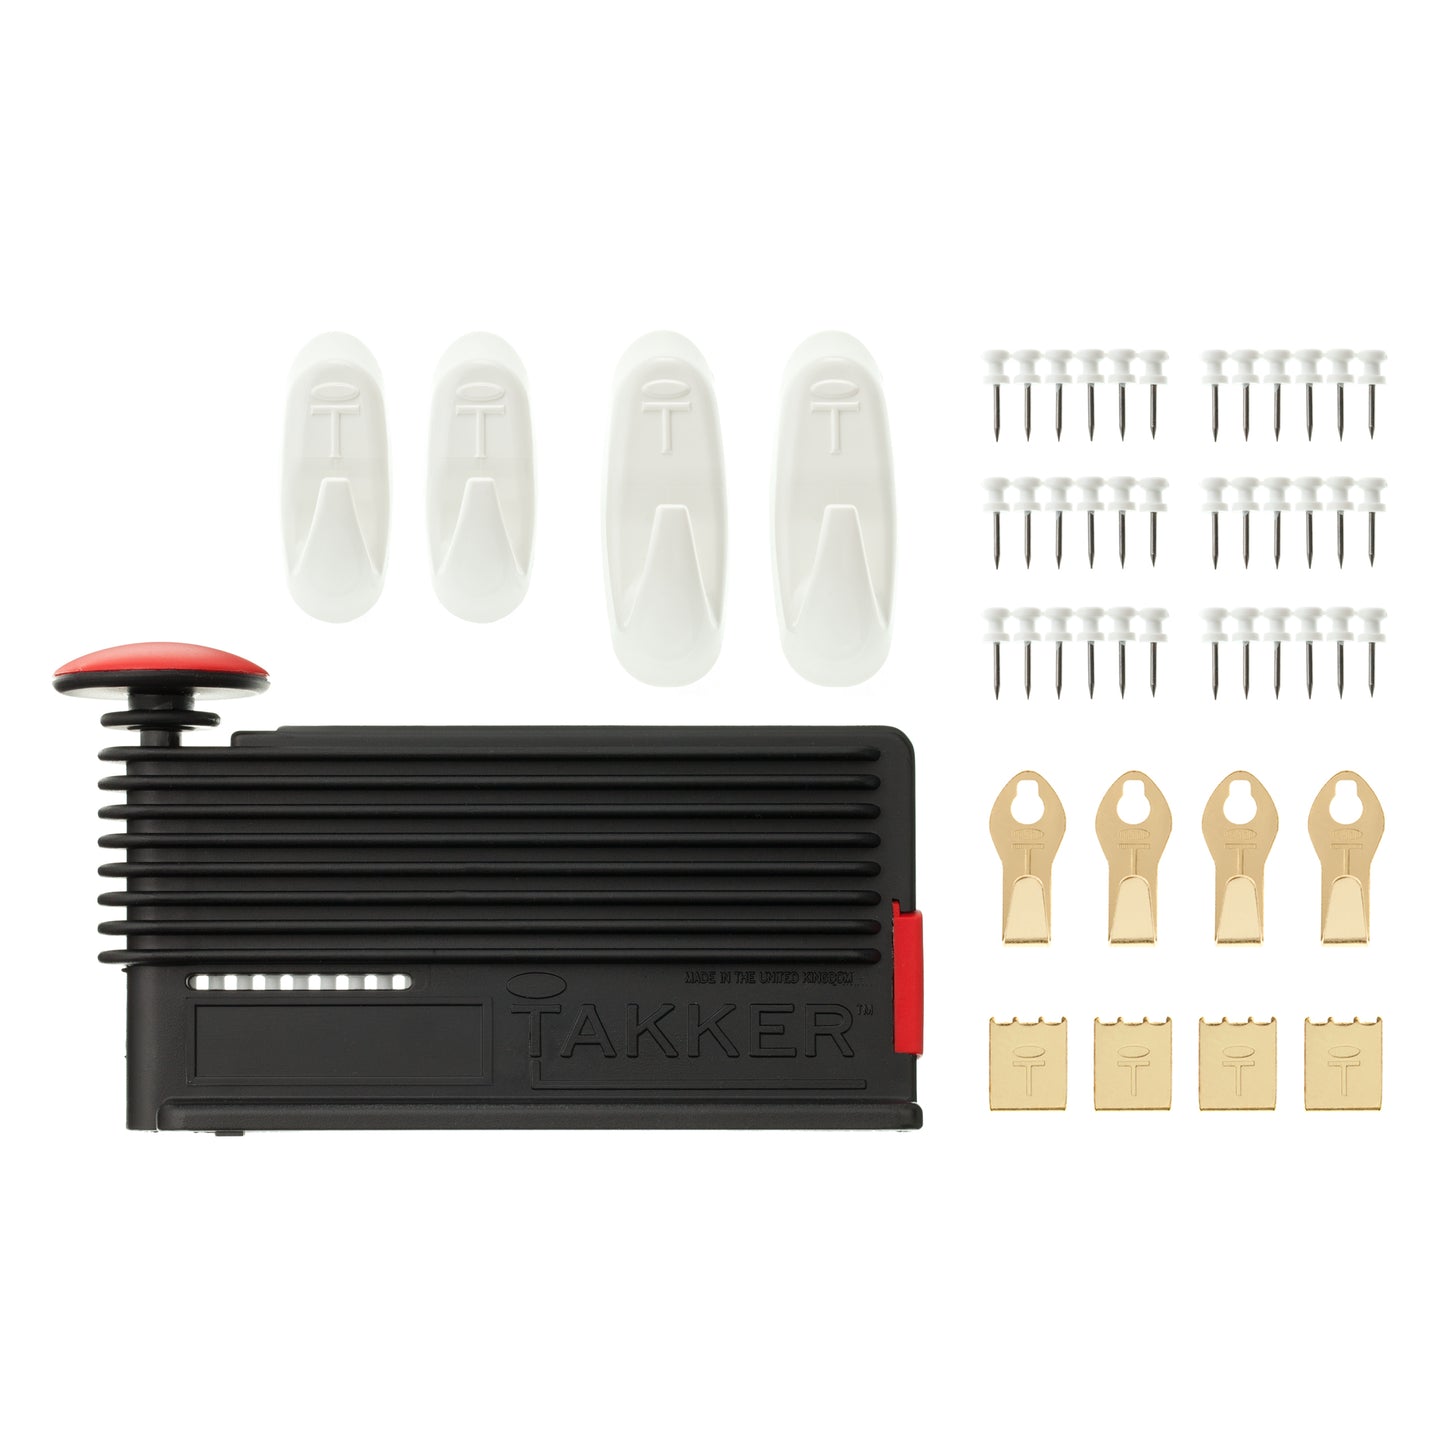
Insert the Takks into the chamber (a maximum of 12 Takks can be inserted).
-
Re-insert the spring loaded clip into the Takker. Takker is now ready to use.


Takker Tips
- When you receive your Takker, DO read the instructions carefully on the back of your Takker packaging. This gives instructions on how to position a Takk for accurate picture hanging, how to fit a Takk and how to remove a Takk from your wall or surface.
- DO practice inserting a Takk into your wall or surface before your first hanging job.
- Always ensure the Takk is fully flush against the surface before hanging your item. If the Takk is not flush on the first attempt, hit the plunger again firmly with the palm of your hand until flush, however be careful NOT to pull the plunger out so far that it re-loads another Takk. This can cause the Takker to jamm. If the Takker becomes jammed, it can be easily fixed by following the instructions in the support video.
How to Remove a Takk
Step 2 Hold your Takker firmly and lift the plunger end away from the wall. The Takk will come out of the wall easily leaving a tiny 1mm hole.