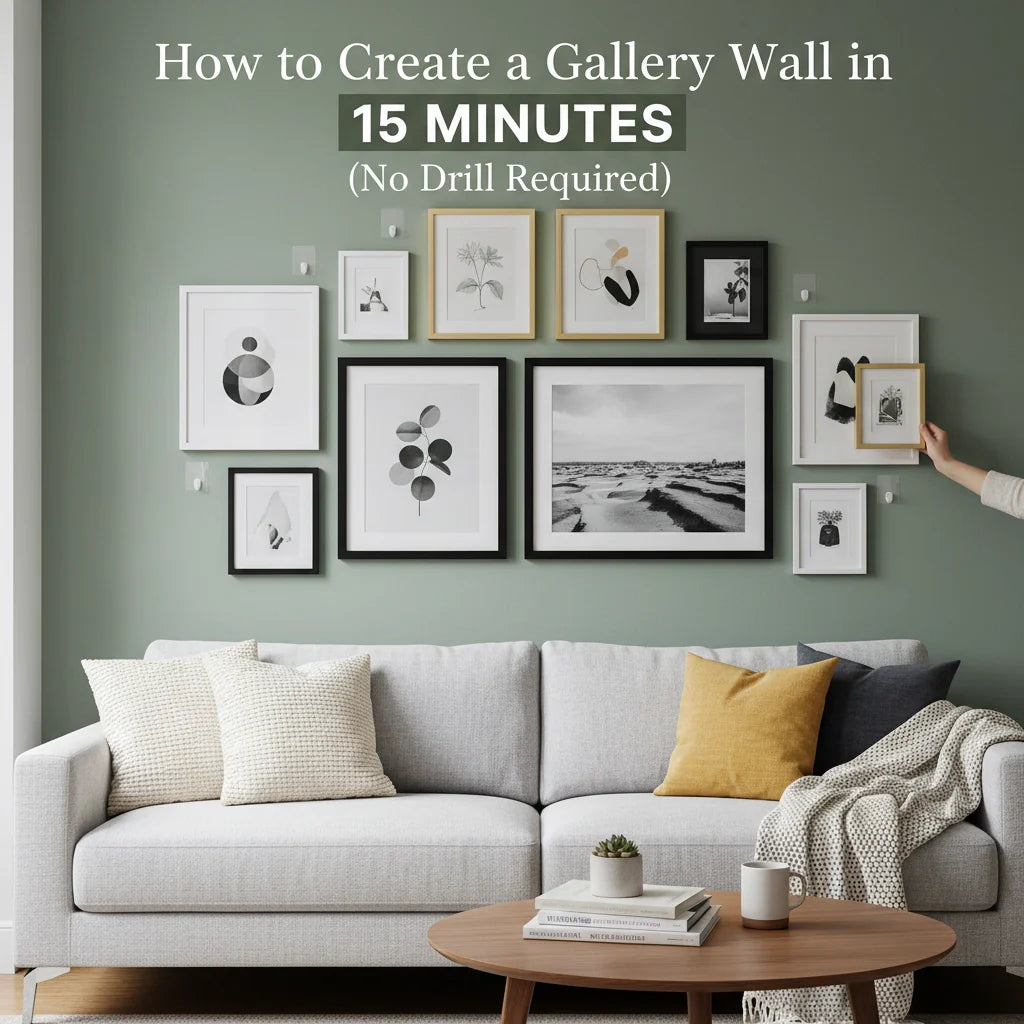
Creating a stunning gallery wall in just 15 minutes without drilling holes sounds impossible, but with proper preparation and the right tools, it's entirely achievable. The key lies in smart planning, using adhesive hanging solutions, and having everything ready before you start.
Why Skip the Drill?
Traditional drilling methods can damage walls, create dust, and require finding studs for heavier pieces. Mess-free hanging solutions protect your walls, work on any surface, and allow for easy repositioning without leaving permanent marks. This approach is particularly valuable for renters, those with delicate wall surfaces, or anyone wanting to frequently update their display.
Pre-Planning: The Foundation of Speed
The secret to a 15-minute installation is completing most of the work beforehand. Start by selecting your artwork and arranging it on the floor in your desired configuration. Take a photo of this arrangement for reference during installation.
Measure your wall space and create a rough template using painter's tape to mark the outer boundaries of your gallery wall. This prevents you from hanging pieces too high, too low, or too spread out.
Choose a maximum of three frame styles to maintain visual cohesion. A simple combination might include white frames, black frames, and natural wood, or two modern styles plus one decorative option. This limitation reduces decision-making during installation.
Essential Tools and Materials
For lightweight pieces (under 2 pounds), adhesive strips work perfectly. Medium-weight items (2-8 pounds) require stronger adhesive hooks, while heavier pieces need specialized no-drill hanging systems like Takker's multi-purpose hanging kit.
Gather these materials before starting:
- Adhesive strips or hooks appropriate for your artwork weights
- Measuring tape
- Level (or smartphone app)
- Pencil for light marking
- Cleaning cloth for wall preparation
- Your pre-arranged artwork
The 15-Minute Installation Process
Minutes 1-3: Wall Preparation Clean your wall surface with a damp cloth and allow it to dry completely. Remove any existing hooks or debris. Mark your center point and outer boundaries using your pre-planned measurements.
Minutes 4-8: Strategic Placement Start with your largest or most prominent piece, positioning it slightly off-center for visual interest. Install the hanging hardware for this anchor piece first, ensuring it's level.
Work outward from your anchor piece, installing hardware for 2-3 additional key pieces that form the backbone of your arrangement. These should be your heaviest or most important artwork.
Minutes 9-12: Fill and Balance Add remaining pieces, working quickly but checking for balance. Use your floor arrangement photo as reference. Don't overthink minor adjustments – the goal is completion within your timeframe.
For varied heights, aim for 2-3 inches between frames. This creates visual connection without overcrowding.
Minutes 13-15: Final Adjustments Step back and make any necessary position corrections. Adhesive solutions allow for repositioning if you work quickly before they fully set.
Hanging Techniques for Different Weights
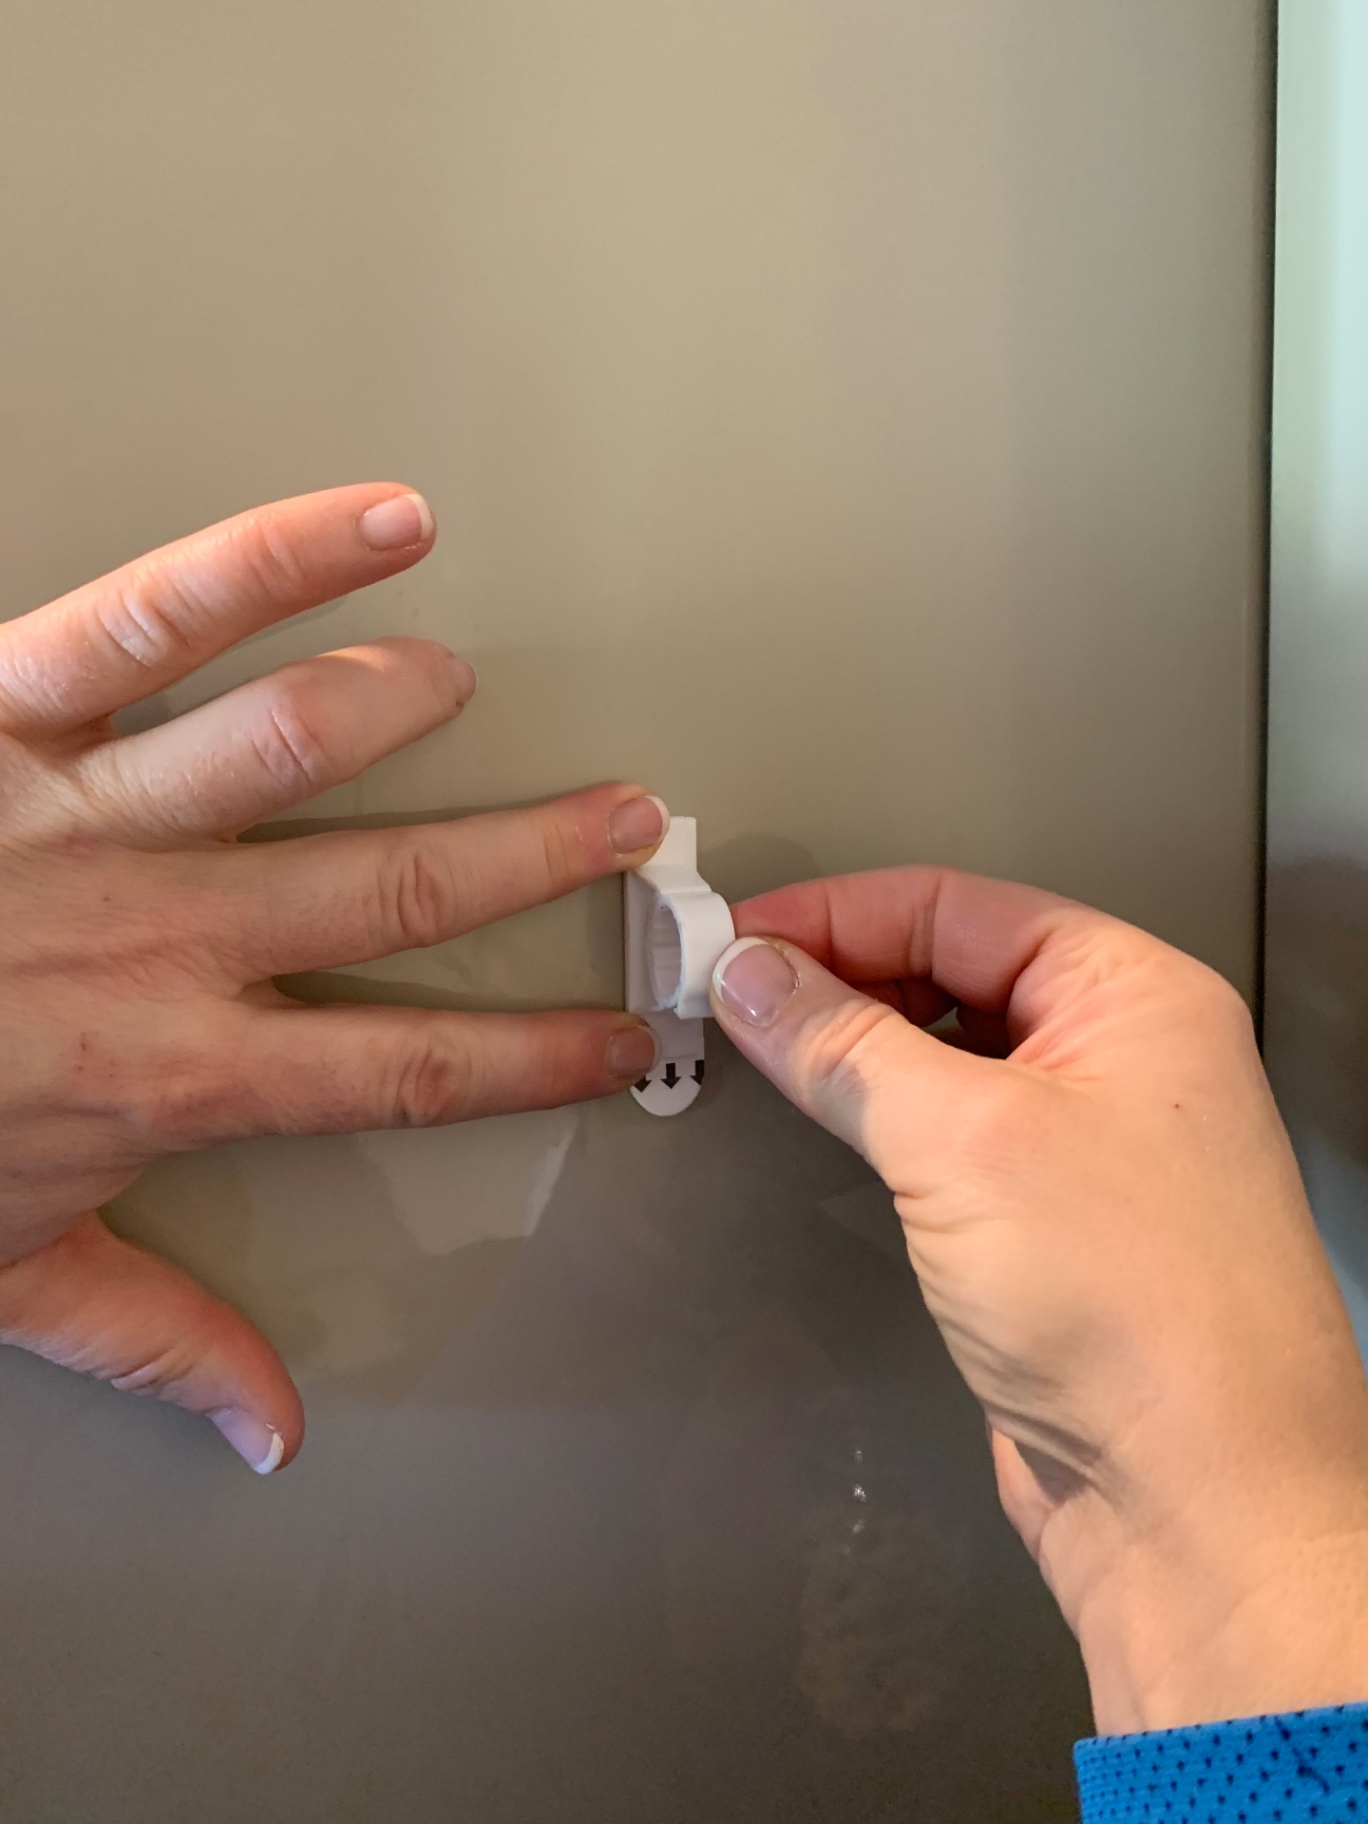
Lightweight Pieces (Prints, Photos, Small Frames) Adhesive strips create a flush finish against the wall. Apply strips to clean, dry surfaces and press firmly for 30 seconds. These work excellently for paper prints, small photographs, and lightweight frames.
Medium-Weight Items (Standard Frames, Canvas Prints) Adhesive hooks support up to 7-8 pounds each. For pieces exceeding this weight, use multiple hooks positioned across the frame's width. Designer hooks create a slight gallery-like appearance since they protrude from the wall.
Heavy Pieces (Large Frames, Mirrors, Substantial Artwork) Press-in hooks like those in Takker's hanging systems support significant weight without requiring tools or stud location. These solutions only leave pinhole-sized marks while supporting up to substantial weights.
Layout Strategies for Quick Assembly
The Grid Method Create mini-grids within your gallery wall by grouping 2, 3, or 4 pieces together. This "gallery within a gallery" approach looks intentional and reduces arrangement complexity.
The Salon Style Hang pieces closer together with minimal spacing. This traditional approach works well when you have many smaller pieces and want to create visual impact quickly.
The Linear Approach Align pieces along invisible horizontal or vertical lines. This creates order and makes installation faster since you're working with consistent reference points.
Mixing Frame Styles and Content
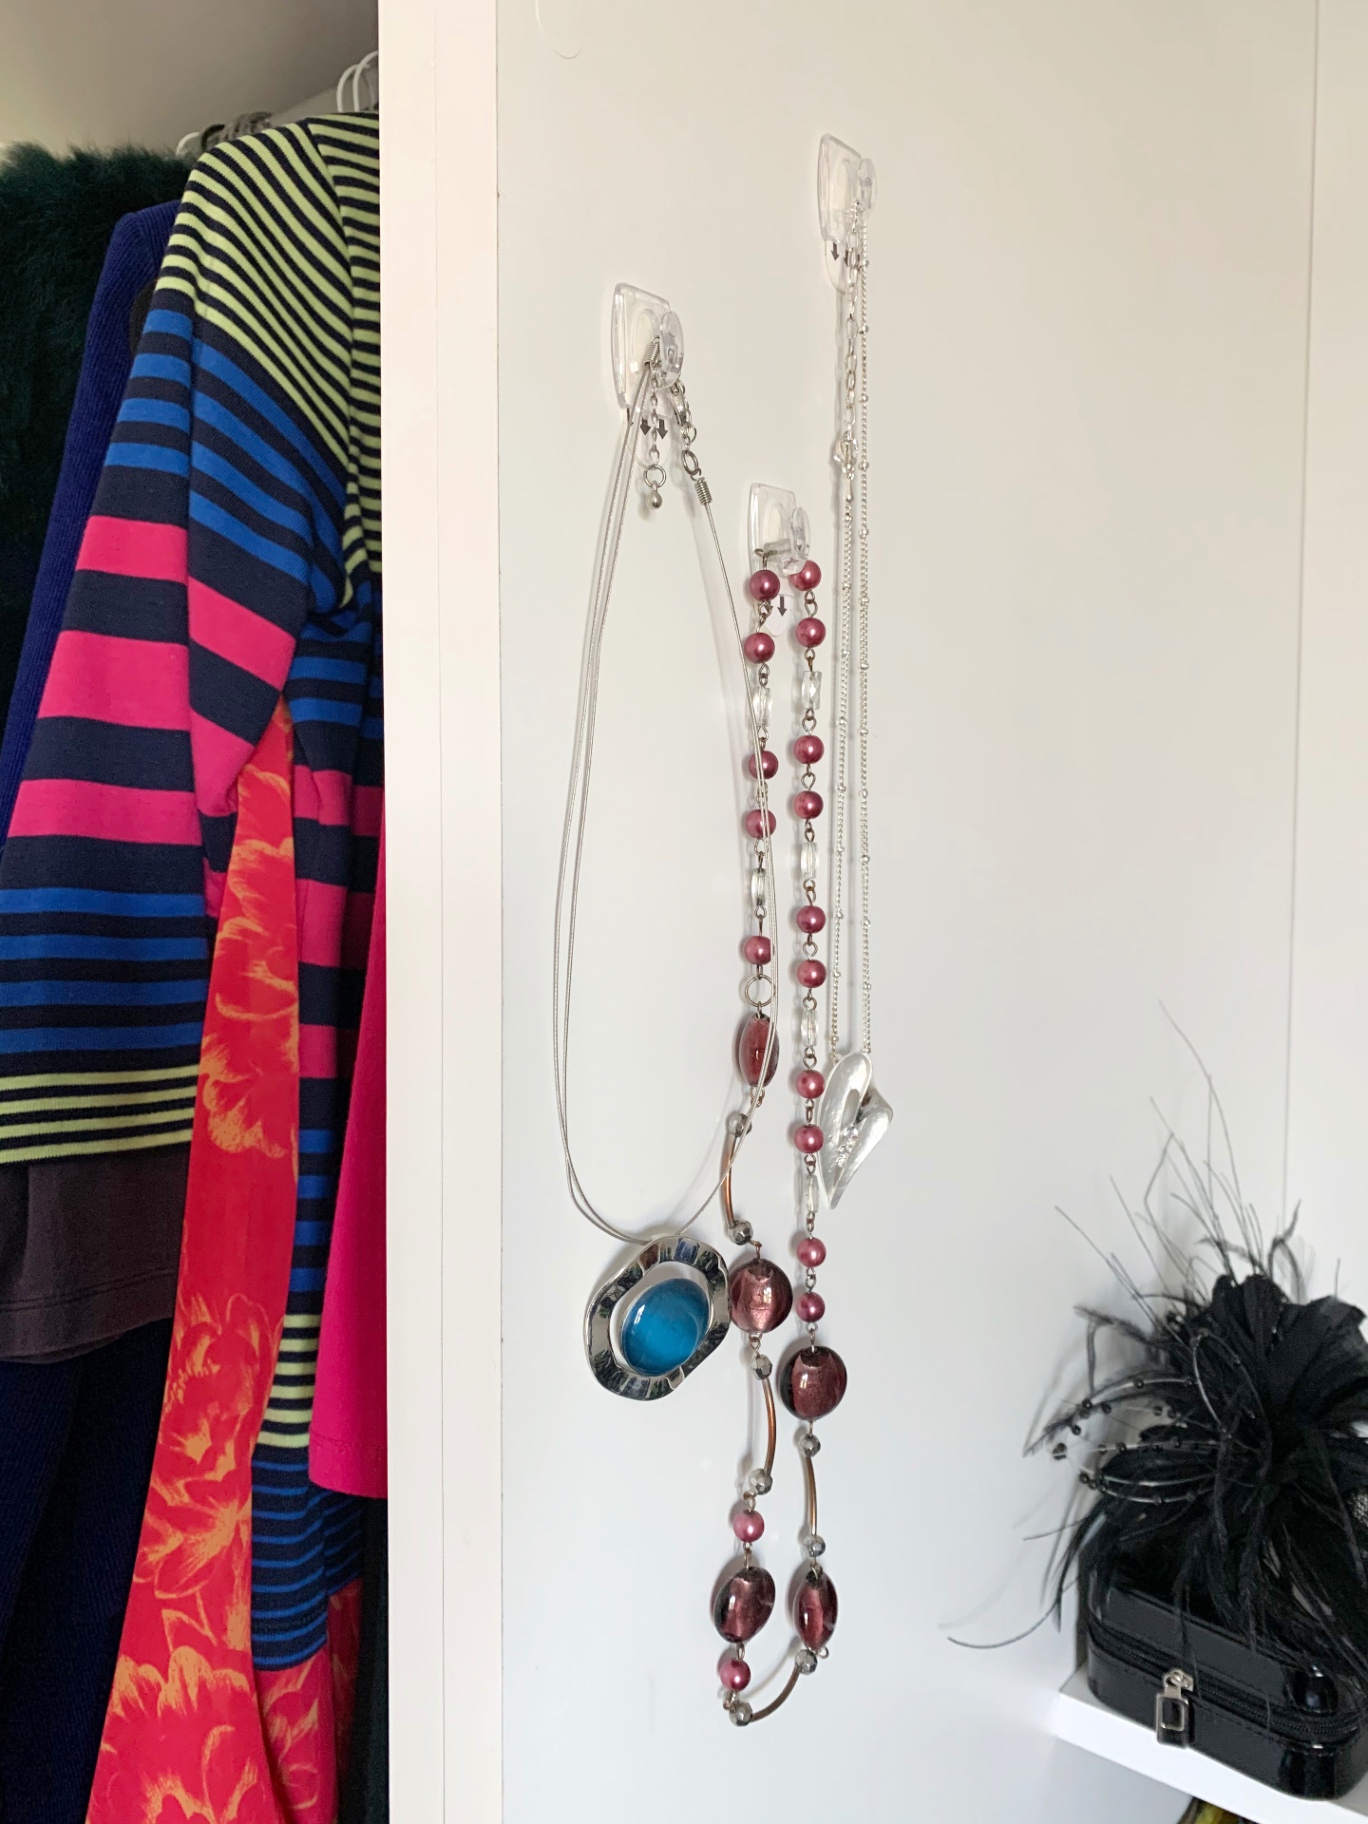
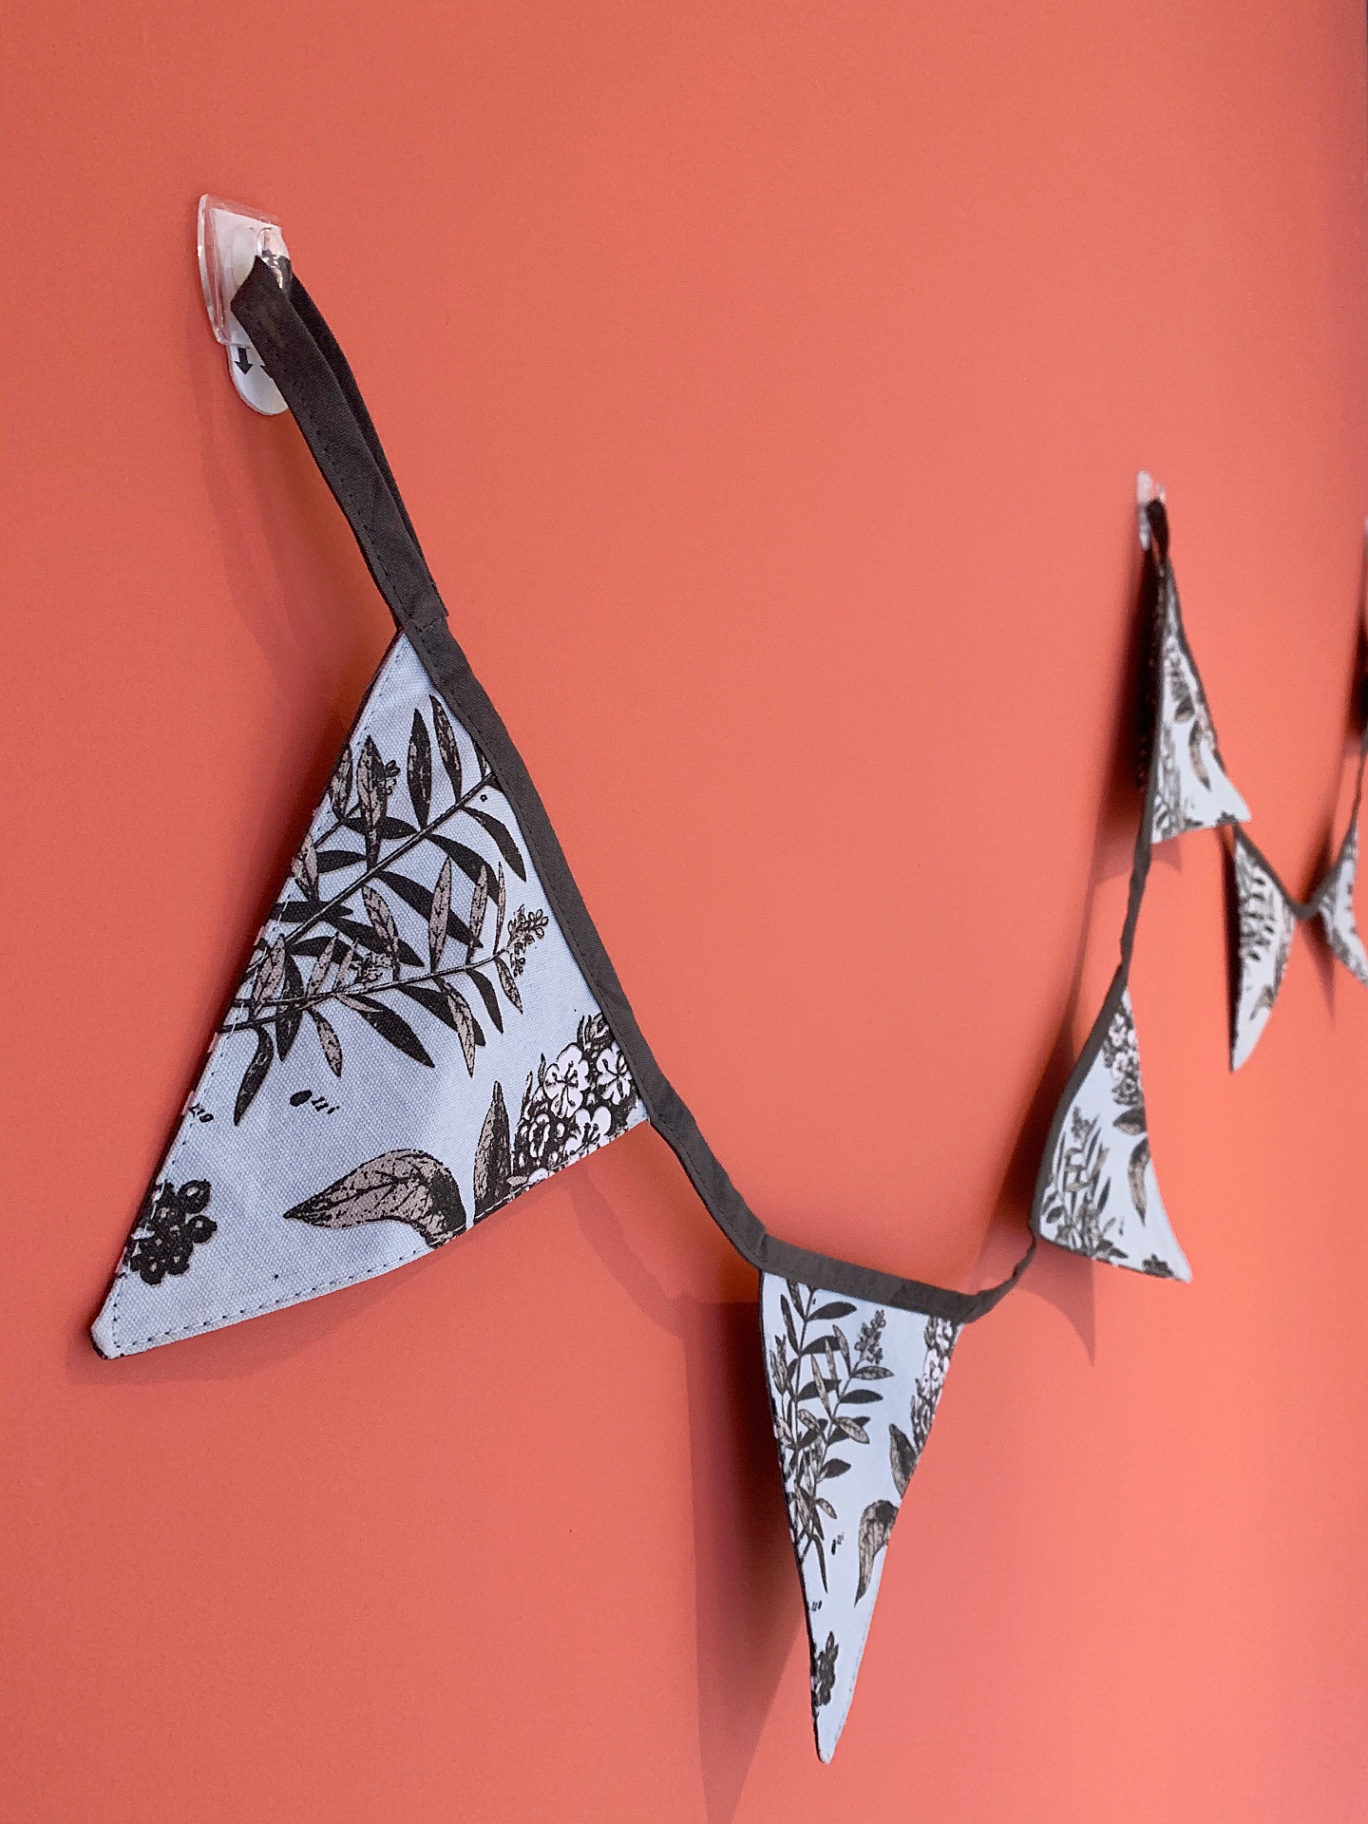
Don't limit yourself to traditional framed artwork. Include unframed elements like photo strips on clips, small sculptural pieces, or textile elements. Round pieces such as circular canvases or embroidery hoops provide visual breaks from rectangular grids.
Float mounting can instantly elevate any piece – ticket stubs, postcards, or small memorabilia. Create quick float mounts using shadowbox frames with foam adhesive backing.
Common Mistakes to Avoid
Hanging everything too high is the most frequent error. Eye level should be your reference point – typically 57-60 inches from floor to picture center. For gallery walls, the center of the entire grouping should be at eye level, not each individual piece.
Spacing pieces too far apart breaks visual connection. Maintain 2-4 inches between frames for cohesion.
Starting without a plan leads to poor composition and wasted time. Always arrange pieces on the floor first.
Troubleshooting Quick Fixes
If a piece appears crooked after installation, most adhesive solutions allow for slight repositioning within the first few minutes. For persistent leveling issues, use your smartphone's built-in level app.
For pieces that seem too heavy for your chosen hanging method, add additional support hooks rather than risking failure. It's better to use extra hardware than have artwork fall.
Expanding Your Gallery Wall
Once your initial 15-minute gallery wall is complete, you can easily add pieces over time. The beauty of mess-free hanging solutions is their flexibility – rearrange, add, or remove pieces without wall damage.
Consider seasonal rotations or themed updates. With the right hanging system, swapping artwork takes seconds per piece.
Maintenance and Longevity
Check your hanging hardware periodically, especially in high-humidity areas. Most quality adhesive solutions maintain their hold for years, but environmental factors can affect performance.
Keep spare adhesive strips or hooks on hand for future additions or replacements.
Creating a gallery wall in 15 minutes without drilling requires preparation, the right tools, and a systematic approach. With practice, you can achieve professional-looking results quickly while preserving your walls. The combination of proper planning and reliable hanging solutions like Takker's no-drill systems makes this seemingly impossible timeline entirely achievable.