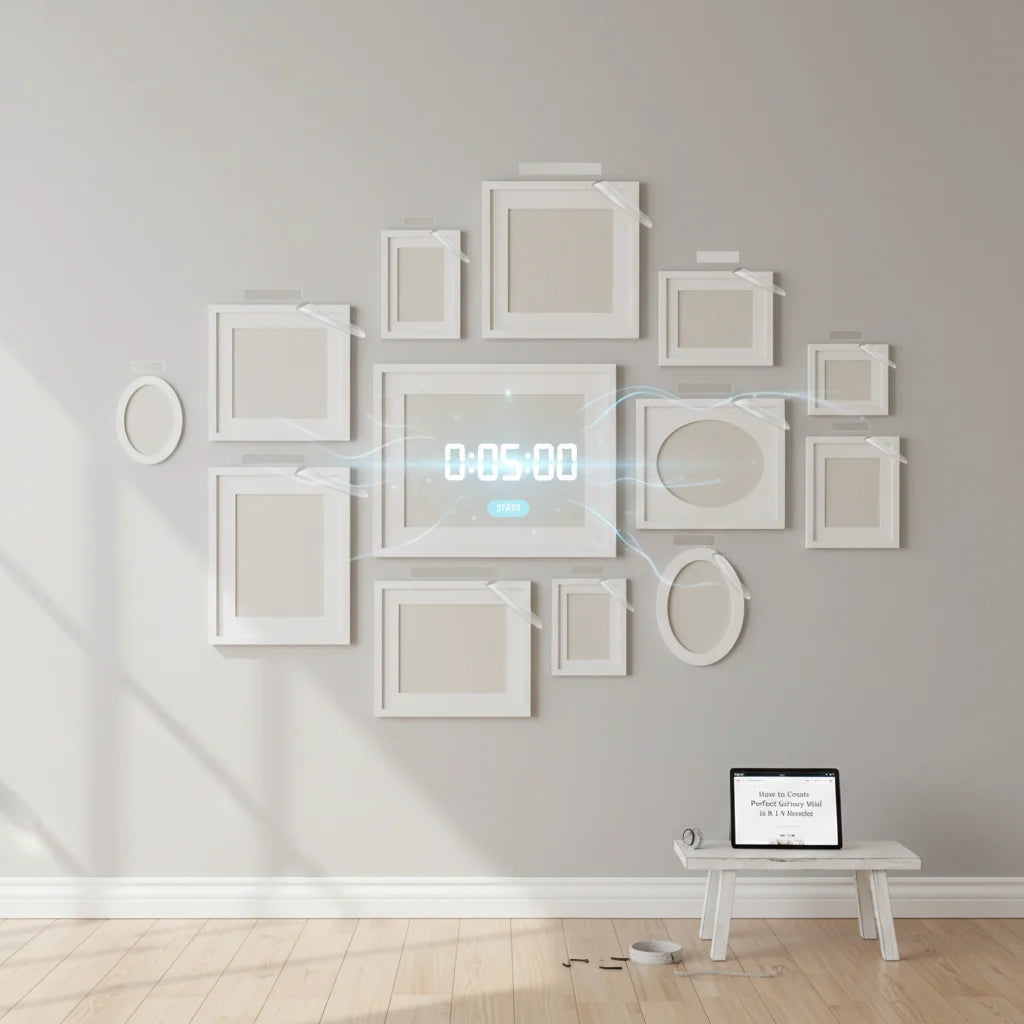
Creating a stunning gallery wall doesn't have to be a weekend-long project filled with measuring tape anxiety and multiple trips to patch wall holes. With the right approach and modern hanging solutions, you can achieve a professionally curated look in just five minutes of actual hanging time.
The secret lies in thorough preparation and using the floor layout method: a technique that eliminates guesswork and transforms what's typically a stressful home improvement task into a quick, confident process.
Why Traditional Gallery Wall Methods Take Forever
Most people struggle with gallery walls because they approach them backwards. The conventional method involves holding frames against the wall, eyeballing spacing, marking spots with pencil, drilling holes, hanging frames, stepping back, realizing something's off, and starting over. This trial-and-error approach can easily consume an entire afternoon and leave your walls looking like swiss cheese.
The floor layout method flips this process entirely. Instead of working vertically against an unforgiving wall, you work horizontally on your floor where adjustments are effortless and mistakes cost nothing.
The 5-Minute Foundation: Floor Planning
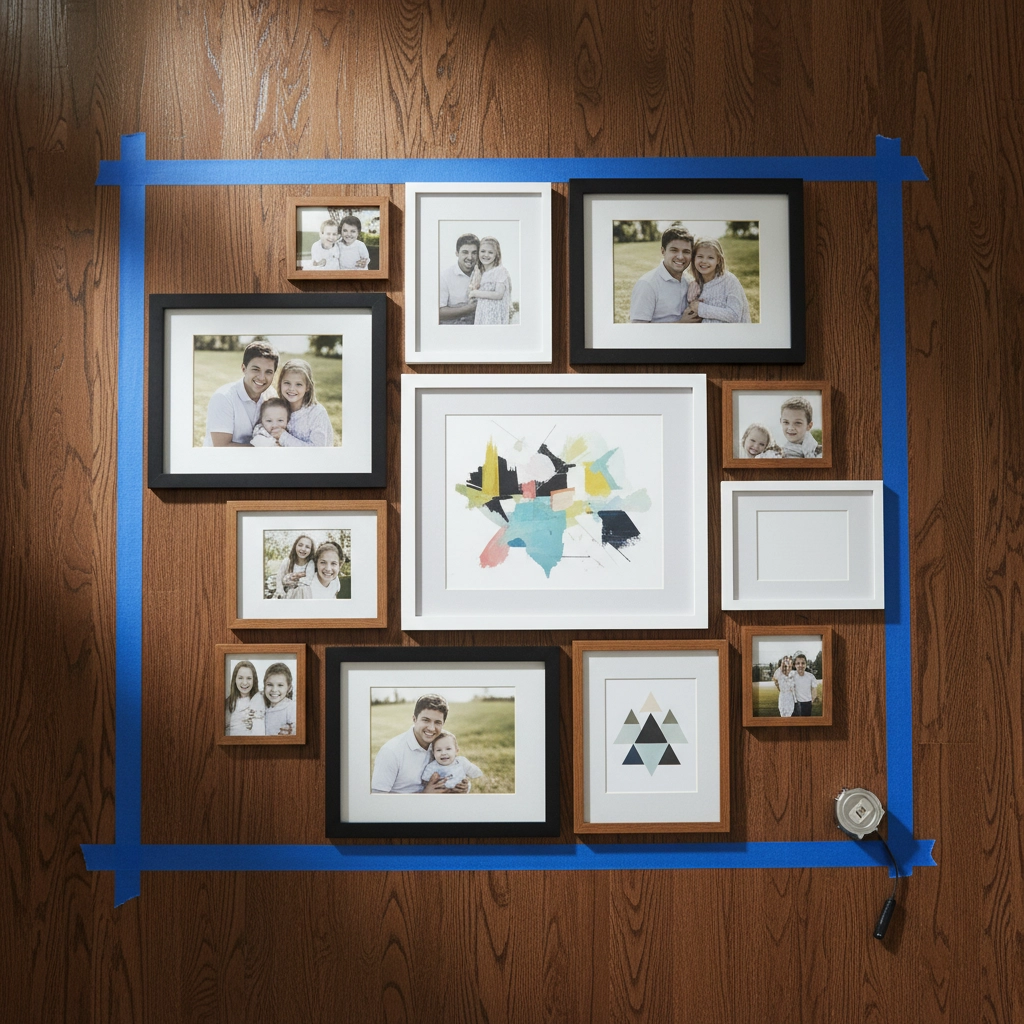
Start by measuring your intended wall space using a tape measure. Whether you're filling the area above a sofa, creating a hallway display, or designing a statement wall, knowing your boundaries is crucial. Mark these exact dimensions on your floor using painter's tape to create a template that mirrors your wall space.
This floor template becomes your testing ground. Gather all the frames, prints, and artwork you want to include in your gallery wall. Don't worry about having a perfect vision yet: the beauty of this method is discovering arrangements you never would have considered.
Begin placing frames within your taped boundaries on the floor. Start with your largest piece as an anchor, then build around it. The general rule for spacing is to maintain 1-3 inches between frames, but don't get too rigid about this. Sometimes closer spacing creates more impact, while wider gaps can make a small collection feel more substantial.
Perfecting Your Layout in Minutes
The floor method allows you to experiment freely. Try different configurations: symmetrical arrangements for formal spaces, asymmetrical layouts for dynamic visual interest, or themed groupings that tell a story. Move pieces around until the composition feels balanced: you'll know it when you see it.
Pay attention to visual weight distribution. A large, dark frame carries more visual weight than a small, light one. Balance heavier pieces across your layout rather than clustering them in one area. Mix frame sizes, colors, and orientations to create rhythm and prevent monotony.
Once you're satisfied with your arrangement, take a photo with your phone. This becomes your installation guide and ensures you can recreate the exact layout on your wall.
The 5-Minute Hanging Process
Now comes the magic. With your layout perfected and photographed, the actual hanging becomes systematically simple.
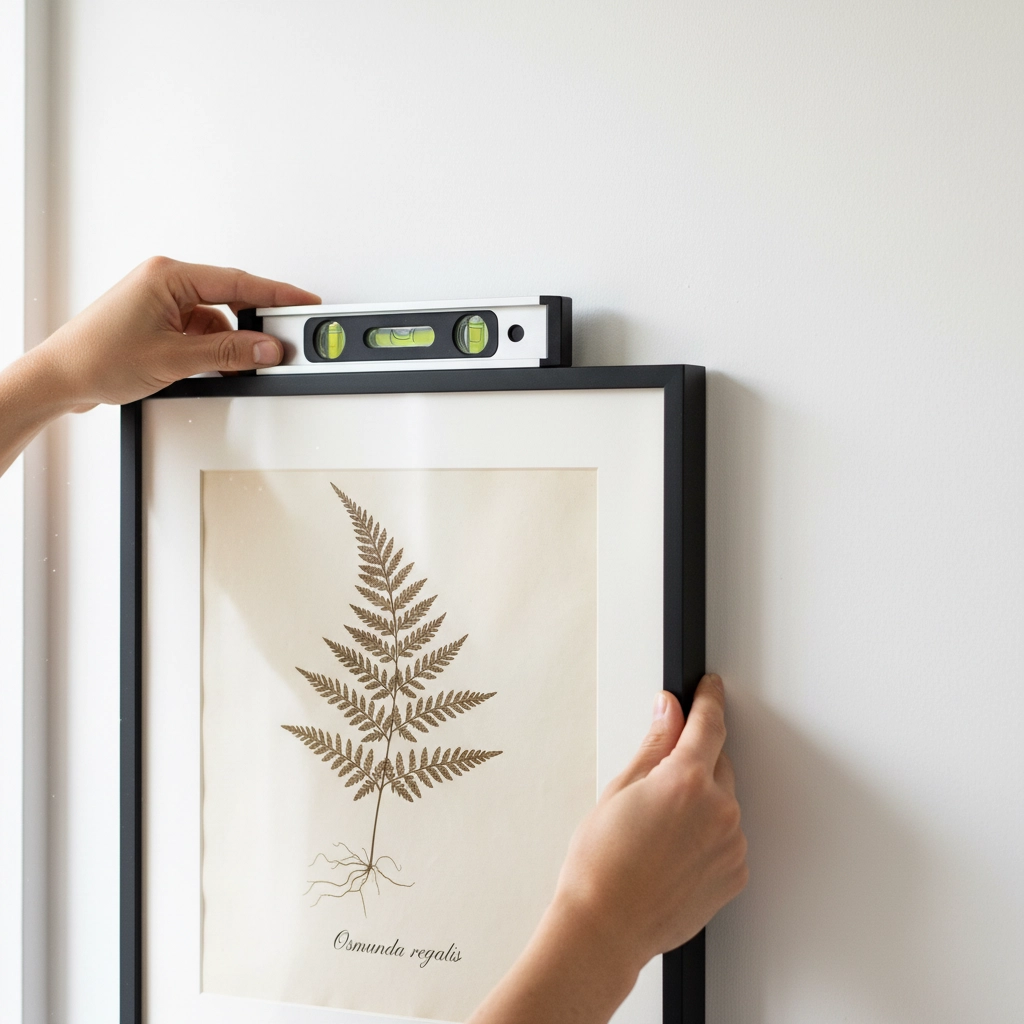
Step 1: Mark Your Starting Point (30 seconds) Choose a reference frame: typically a corner piece or your largest frame works well. Measure its position relative to your wall boundaries and mark this spot on the wall with a small pencil dot.
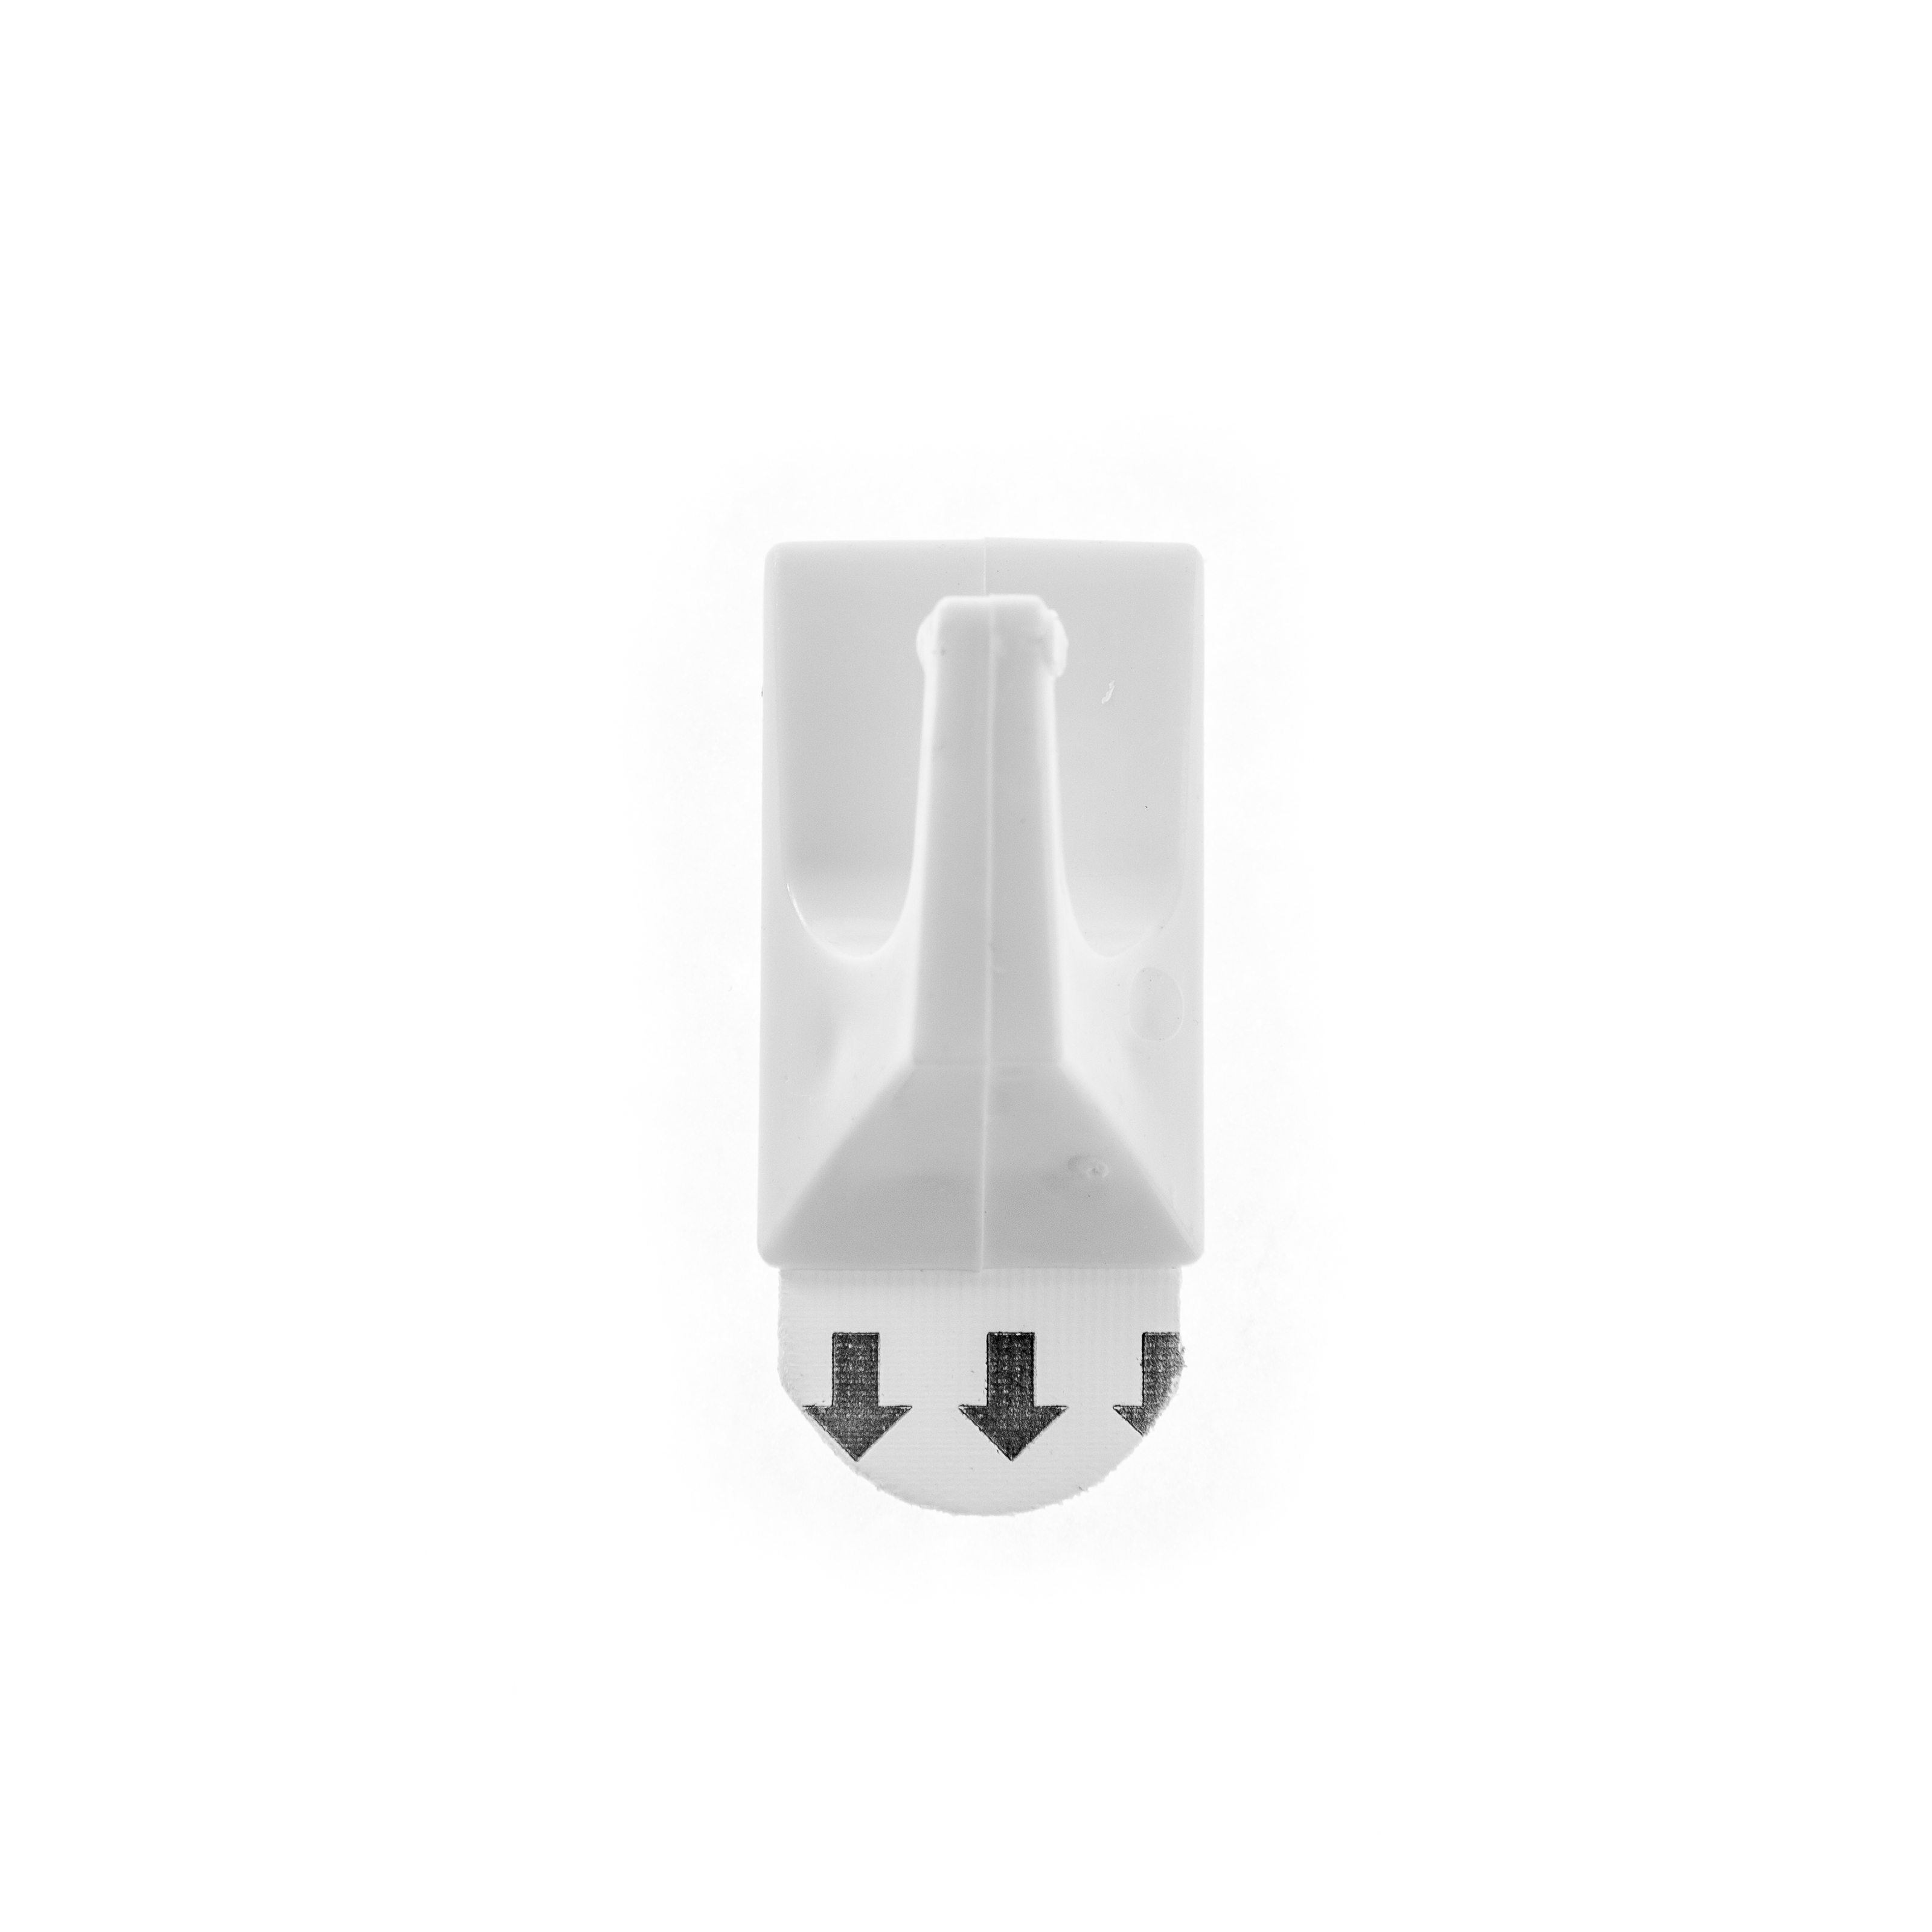
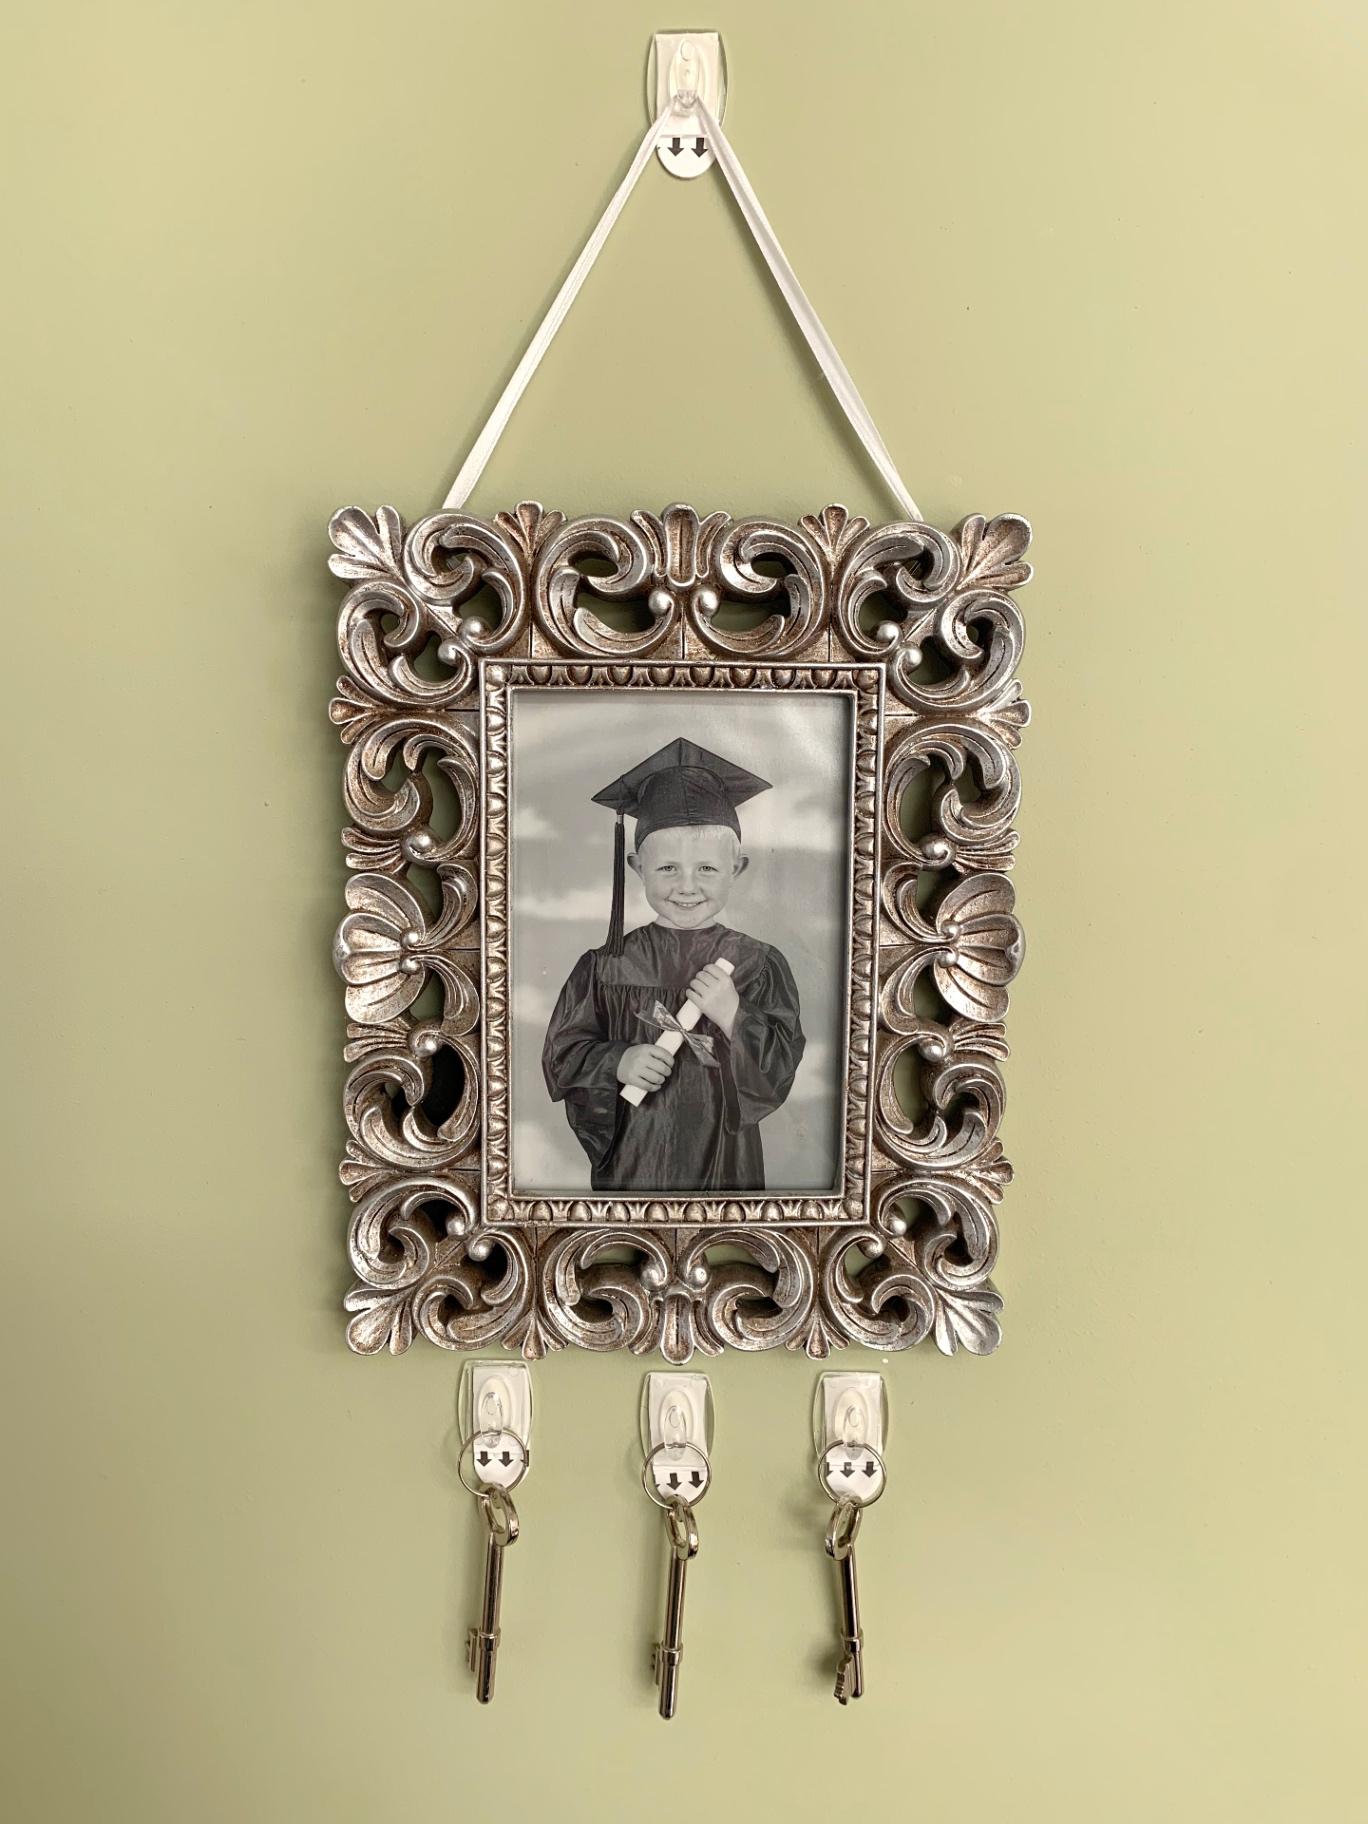
Step 2: Install Your Reference Frame (1 minute) Using modern hanging solutions eliminates the time-consuming drilling process. Products like the Takker picture hanging kit allow you to create secure mounting points in seconds without traditional drilling. The small, precise holes they create are barely visible and won't compromise your wall's integrity.
Step 3: Work Systematically (3 minutes) With your reference frame positioned correctly, work outward following your photographed layout. Measure distances between frames as they appear in your floor arrangement, then replicate these measurements on your wall.
The key to maintaining your 5-minute timeline is confidence in your preparation. Since you've already perfected the layout on your floor, there's no second-guessing during installation. Each frame has a predetermined position, and you simply need to execute your plan.
Step 4: Final Adjustments (30 seconds) Step back and assess your gallery wall. Minor adjustments are normal: frames may need slight repositioning to account for the transition from horizontal floor planning to vertical wall installation. These micro-adjustments are quick and don't require reinstallation when using quality hanging hardware.
Choosing the Right Hanging Hardware
Your hardware choice dramatically affects both installation speed and final results. Traditional nails and screws create unnecessarily large holes and require careful drilling to avoid damaging walls or hitting electrical wires.
Modern alternatives like Takker hooks provide superior holding power while creating minimal wall damage. They're particularly effective for gallery walls because they accommodate various frame weights and sizes without requiring different installation techniques.
For lightweight prints and photos, micro hooks offer nearly invisible mounting points. Canvas prints benefit from specialized canvas print hangers designed to distribute weight evenly across the frame.
Common Gallery Wall Mistakes to Avoid
The most frequent error is hanging frames too high. The center of your gallery wall should sit at eye level (typically 57-60 inches from the floor). This might mean your individual frames hang lower than you initially expect, but the overall composition will feel more natural and engaging.
Inconsistent spacing creates visual chaos. While your frames don't need to be identical distances apart, maintaining some spacing consistency helps unify the display. The floor planning method naturally prevents this issue by allowing you to visualize spacing relationships before committing to wall placement.
Ignoring your room's proportions is another common mistake. A tiny gallery wall on a large blank wall looks lost and insignificant. Conversely, an oversized arrangement can overwhelm a small space. Your floor template helps you assess these proportions before installation.
Styling Tips for Professional Results
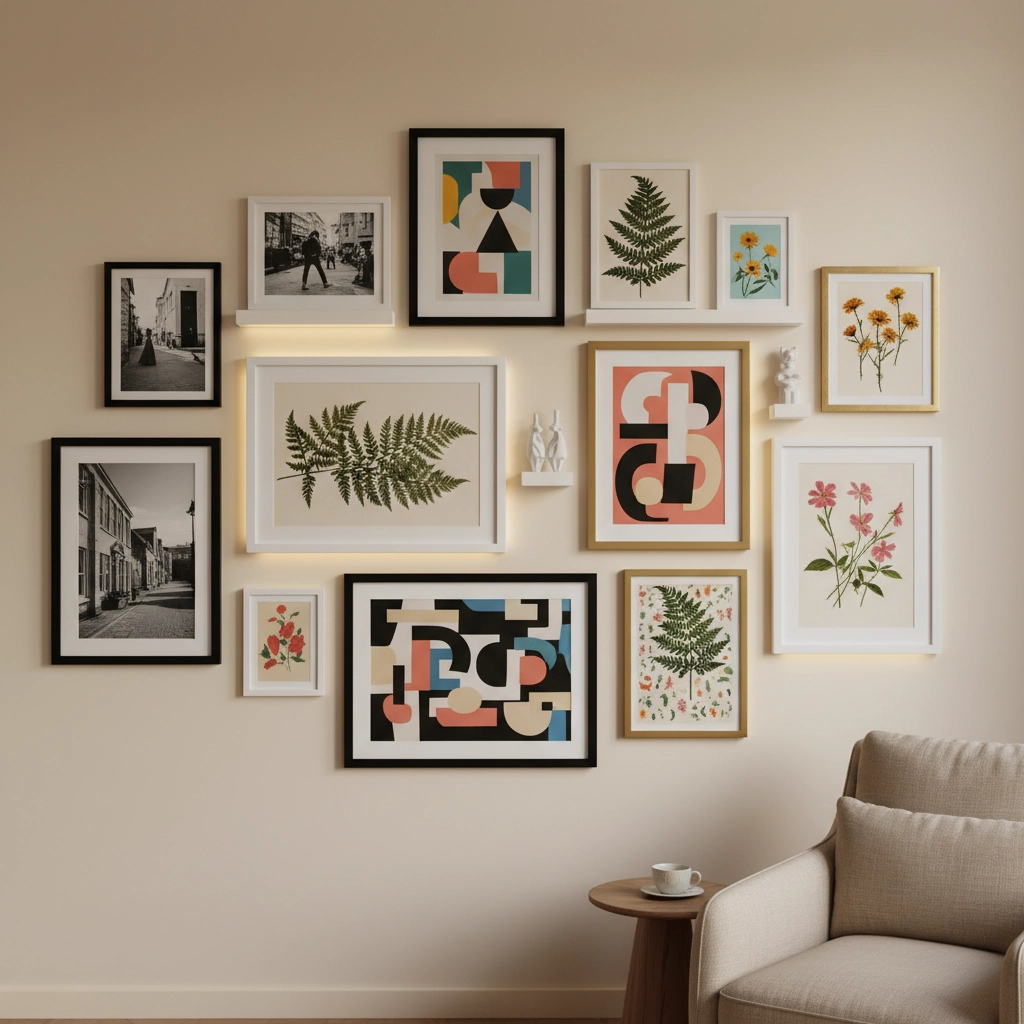
Color coordination doesn't mean everything must match perfectly. Instead, ensure there's some visual thread connecting your pieces: whether through color palette, subject matter, or frame style. This creates cohesion without monotony.
Vary your frame orientations and sizes for dynamic visual interest. A gallery wall composed entirely of identical frames and orientations lacks the personality that makes these displays compelling. Mix horizontal and vertical orientations, include different frame sizes, and consider incorporating a few pieces without frames for textural variety.
Consider the surrounding decor when planning your gallery wall. The display should complement your room's existing elements rather than competing with them. If your space features bold furniture or wallpaper, a more subdued gallery wall might be appropriate. In minimalist spaces, your gallery wall can serve as the primary focal point.
Maintaining Your Gallery Wall
One advantage of using quality hanging hardware is the ease of making changes. Gallery walls should evolve with your tastes and lifestyle. With secure, reusable hanging points, you can swap out pieces seasonally, add new acquisitions, or completely redesign your arrangement without wall damage.
Regular dusting keeps your display looking fresh. Use a microfiber cloth or soft brush to clean frames and glass. Avoid harsh cleaning products that might damage frame finishes or photo surfaces.
Conclusion
The 5-minute gallery wall is achievable when you separate planning from execution. By perfecting your layout on the floor first, you transform what's typically a stressful, time-consuming project into a quick, confident installation process. Modern hanging solutions eliminate the drilling delays and wall damage concerns that traditionally slow down gallery wall creation.
Your walls become a curated expression of your personality and style, achieved efficiently and professionally. The floor planning method works for any space size or frame collection, making beautiful wall displays accessible regardless of your DIY experience level.