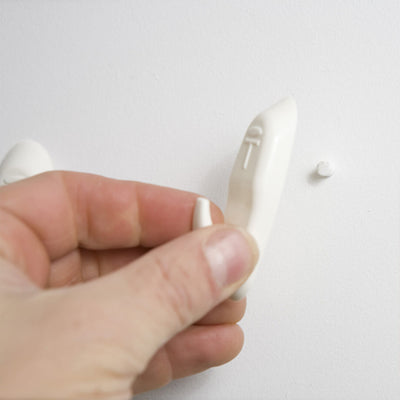
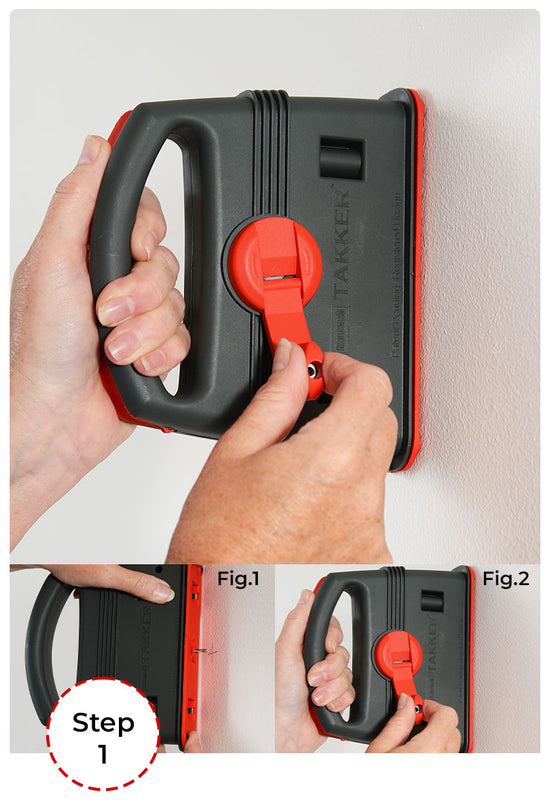
How to use Hardwall Takker
Takker and Takker accessories have been designed with simplicity in mind. Follow these guides to enjoy easy, instant picture hanging and general wall hanging with your Takker for years to come.
1
2
3
How to Replace the Drill Bit
1
2
3
Positioning a Takk
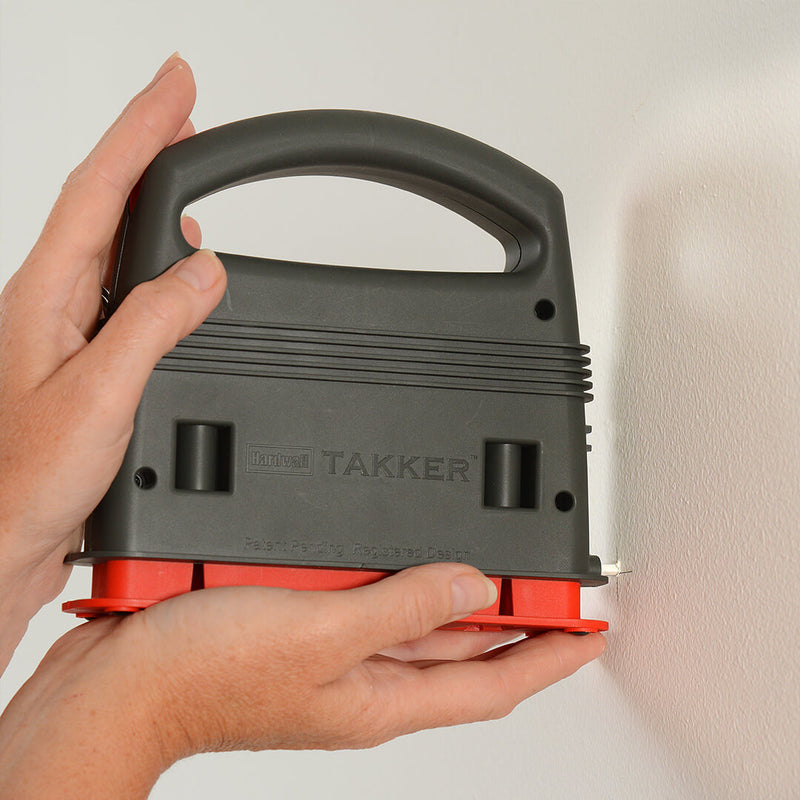
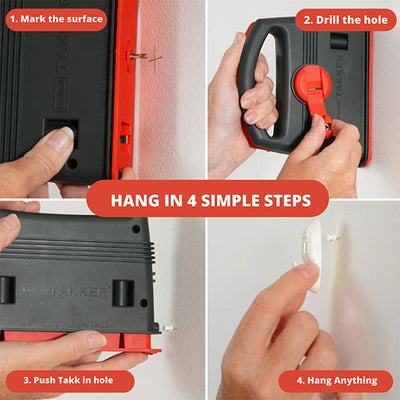
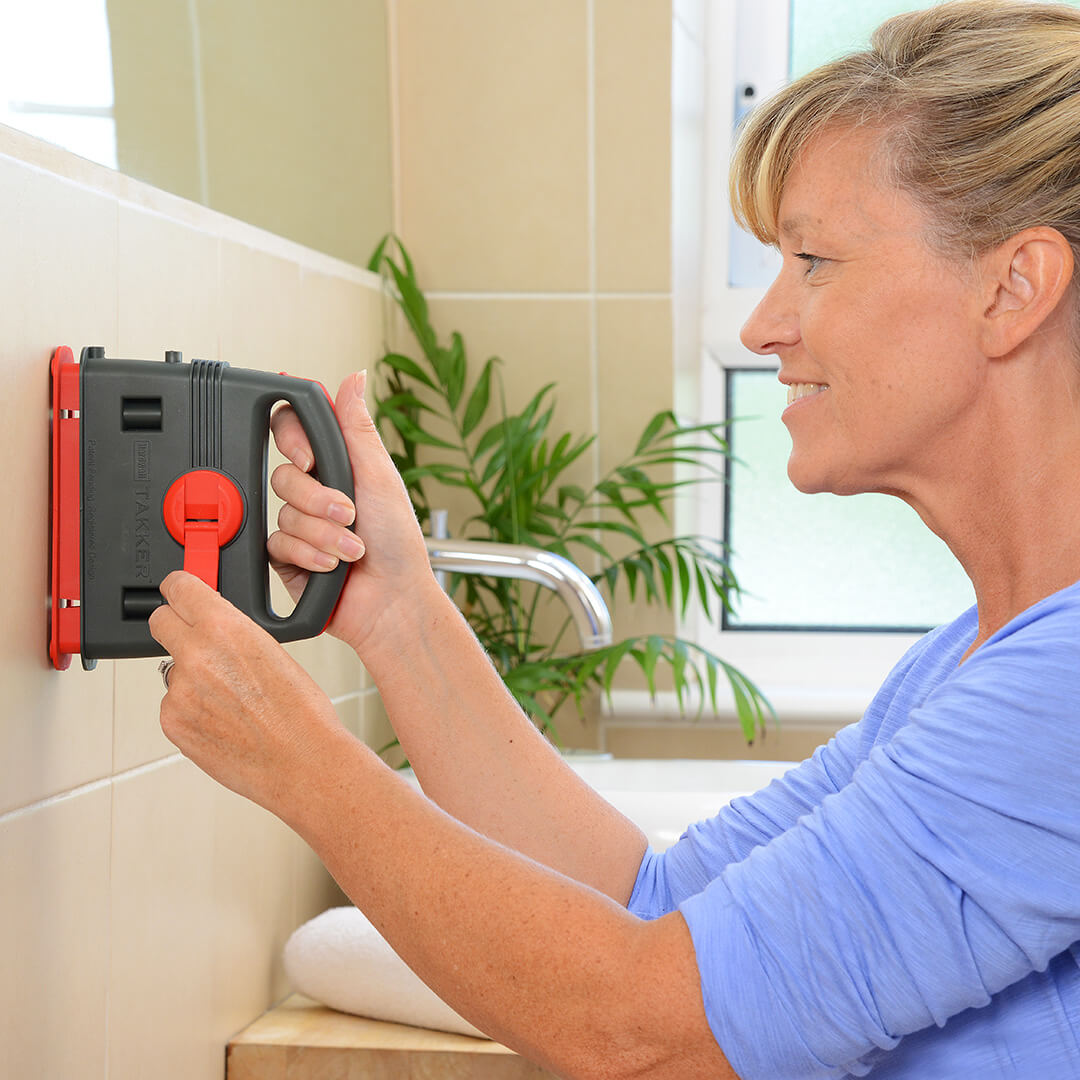
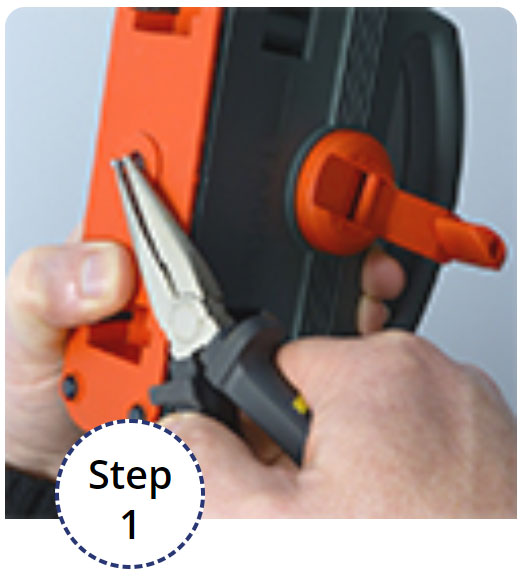
Using a pencil, make a small cross on the wall where you want the Hardwall Takk to be inserted. hold the Hardwall Takker in both hands and compress the base with your fingers to expose the drill bit.
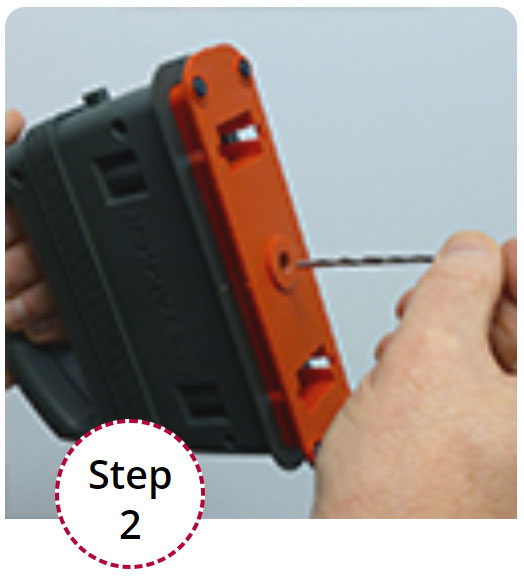
Align the tip of the drill bit with the cross mark and slowly release the base.
How to Remove a Takk
1 Attach your Hardwall Takker onto the Hardwall Takk (see photo).
2 Hold the Hardwall Takker firmly and push down to lever the Hardwall Takk out of the wall.
3 The small 3mm hole can easily be filled with any general purpose repair filler.
Hardwall Takker Do's and Don'ts
1 DO read through all the instructions ion this page carefully to get the most out of your Hardwall Takker
2 DO practice drilling a few holes into hard surfaces before your first hanging job. Ensure the Hardwall Takk is fully inserted into the surface and is secure before use. If for any reason the Hardwall Takk cannot be fully inserted into the hole with the Takk head flush against the wall surface then do not use for hanging objects.
3 ONLY use the Hardwall Takker with Takker hanging accessories
4 If you require product support, DO email us at support@takker.com
Hardwall Takker Uses
Use Takker for hanging items in the home, garden and workplace.
Suitable for Pictures and Canvas prints, Mirrors and Clocks, Cards and Decorations, Memo Boards, Kitchen Utensils, Bathroom Accessories, Hanging Plant Pots and Objects on outside walls.